Published byforahobby on 2009-09-10 Category: Controller | Page Views: 11912
360-HQ.COM is not responsible for those users who attempt this modification. Although this tutorial isn't very difficult you do require alot of expensive parts so it's not recommended for newbies.
Introduction
This tutorial will explain in great detail how to build your own "J5/J6 ION Converter". When completed this custom module enables your "ION Drum Rocker Drumkit" to be configured in anyway you choose and makes full use of the 5 lane highway introduced since GHWT. (orange cymbal)
This custom module is 100% compatible with all current "Guitar Hero" series drumming games. It has been tested with the following games and works as expected, Flawlessly lol.
I will do my best to add pictures through-out the tutorial but since i only have a simple mobile phone camera they may be of poor quality. Enjoy the tutorial and hope it helps out all our other members and guests!
1. You might ask why am i doing this??
Since the release of GHWT the drums have a additional cymbal (green), which the original Rock Band game, & ION Drum Rocker do not support since there has been NO UPDATE PATCH Sad With this custom module you can play your ION drum rocker drumkit to its full potential..
2. What you will need
1 x Guitar Hero World Tour Drumkit (pickup on ebay cheap)
1 x GHWT Drum Tuning USB Cable (MIDI etc, for tuning)
1 x GHWT Drum Tuning Software (download here)
1 x Black Case Module/Enclosure (about $10)
6 x 6.5mm (1/4) Mono Phono Sockets ($2 each)
1 x Soldiering Iron & Soldier
8 x hrs - to create your masterpiece and then configure your kit
3. How long does it take?
Well, that's up to you and your skills I guess?!? I took things slowly and it ended up taking me around 4-5 hrs to gut the old GHWT drumkit, drill all the holes in the custom box, mount the electronics & then soldier etc.. It then took me at-least another 1-2 hrs of configuration in GHWT with sensitivity settings via MIDI/USB.. But that just may be to the way i have my kit laid out.. I'll be testing on DJB's ION kit shortly.
Let's Get Started
First we need to disassemble the GHWT drumkit.. If you have already done this you can skip to the next step.
4. Disassembling the GHWT Drumkit
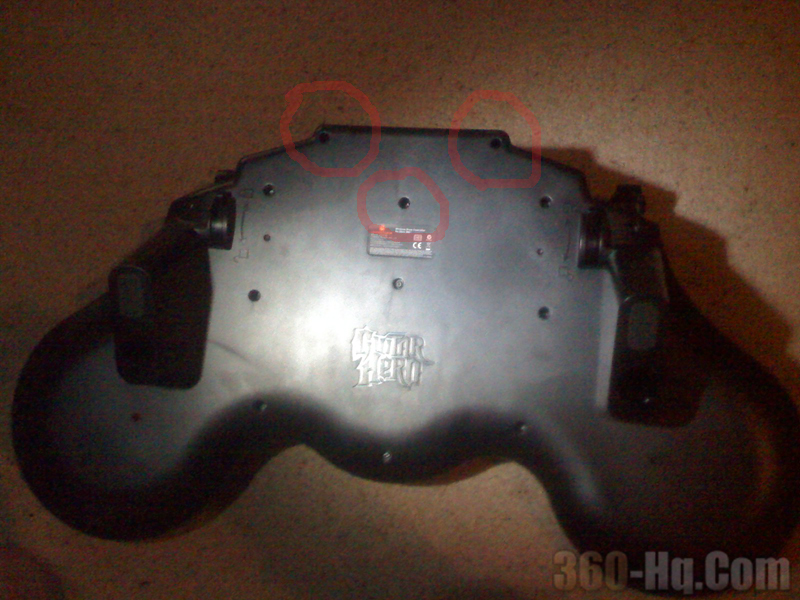
4.1 Grab your old GHWT drumkit and start unscrewing 3 screws from the back of the drumkit as shown in the screenshot below.
Make sure not to drop the wireless/controller module when you unscrew the final of the three (3) screws.
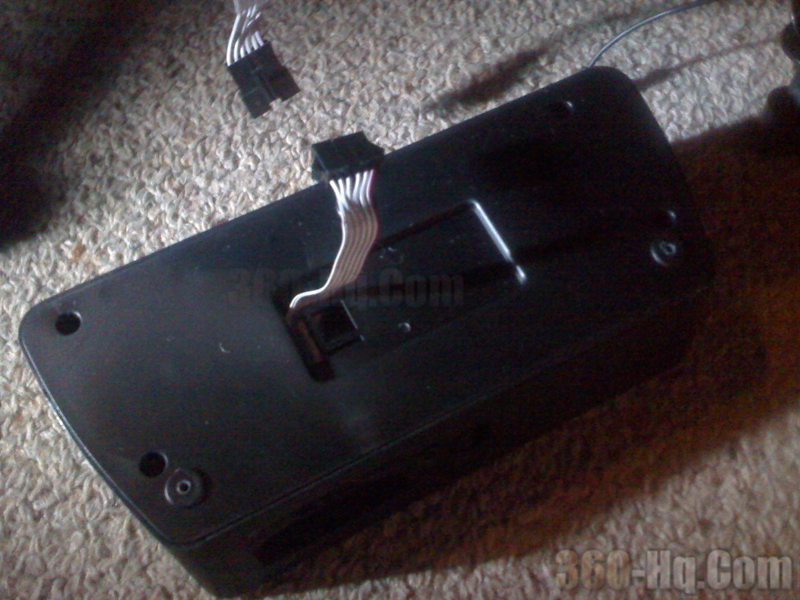
4.2 Disconnect the main harness from the "Wireless/Controller Module" which connects the drumkit to the module. Shown in the screenshot below.
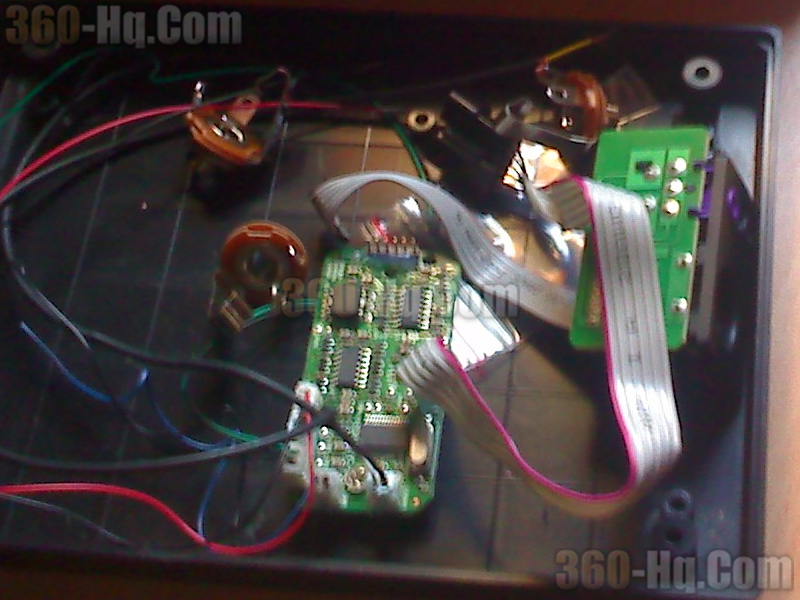
4.3 With the "Wireless/Controller Module" and screws in a safe place we can now start to unscrew the remaining screws from the GHWT drumkit so we can access the mainboard PCB (MIDI SYTHEIZER) which is inside.
4.4 Open the GHWT kit and remove cut the wires each of the drums/cymbals leaving enough wire so that you can also re-wire the kit back to its original state if you ever need or want to.. Smile Example screenshot below.
The PCB has printed descriptions for all it's connections but orange so don't be too worried.! Smile
4.5 Unscrew the Midi / Kick Pedal input area so it can easily be removed. There is only one (1) screw.
4.6 Remove the PCB Mainboard with all wires & MIDI / Kick Pedal section. You should have 2 x PCB's and the wires all together ready to transplant.
This is what you will be left with.
5. Creating the Custom Module/Enclosure
This is the tricky part.. If you rush the project at this stage it will more then like look very unprofessional and i doubt you will want it hanging around your expensive ION drumkit.. lol
5.1 Grab your Case Module/Enclosure and do some measuring to determine how many of the 6.5mm (1/4 inch) mono phono sockets you can fit in your enclosure. In mine i was able to just fit 6 which is great Smile
5.2 Drill the holes and test that the new sockets will fit. Be careful not to damage the outer shell of your case, the inside is ok, no one will ever see that but you!
5.3 Install the new 6.5mm (1/4 inch) sockets in your new holes. (just to test how it looks)
5.4 Cut a spot out of the box to install the midi interface in the side OR you could just install soldier the kick pedal circuit to the last remaining INPUT that is left. That is what i have planned.. Smile
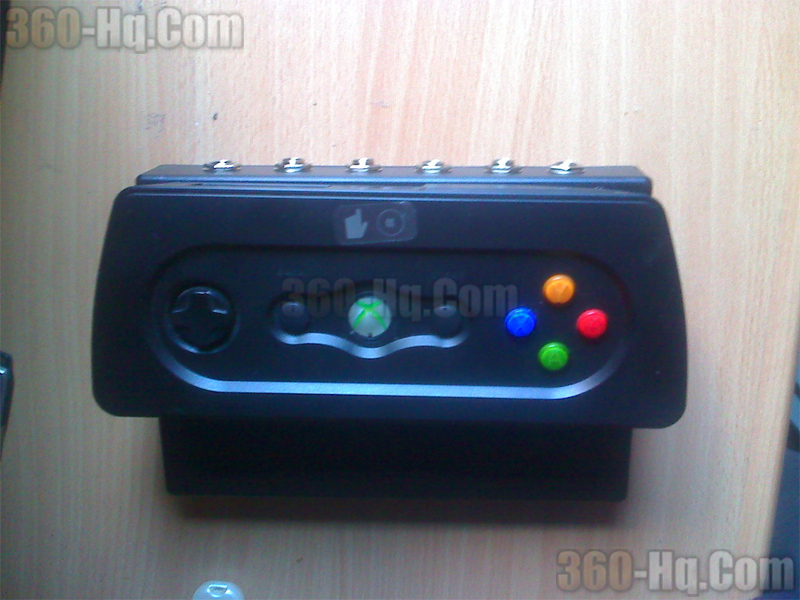
5.5 In this part we need to match up the holes so we can screw the lid to the base of the "Wireless/Controller Module". I used the 3 screws i had from taking out the "Wireless/Controller Module" and used them to screw it back to my base.. Very simple!
5.6 This is what you should end up with when you are done.. A Custom Module with 6 inputs on the back.. Now for the fun part wiring.
Time to move onto the next step.. Wiring & Soldiering.
6. Wiring & Soldiering
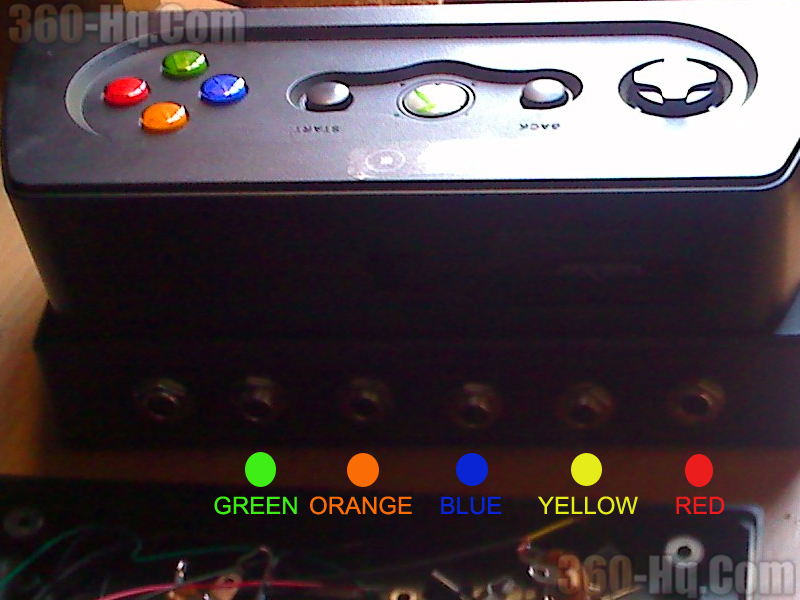
The wiring is pretty straight forward.. This is the way i have my sockets setup for the drumkit so its very easy to understand which plug is for what drum.. Smile
FROM RIGHT TO LEFT:
#1 - RED Pad/Drum (Red & Black Wire)
#2 - YELLOW Cymbal/Hi-Hat
#3 - BLUE Pad/Drum (Blue & Black Wire)
#4 - ORANGE Cymbal/Hi-Hat
#5 - GREEN Pad/Drum (Green & Black Wire)
#6 - KICK PEDALS (not ready yet)
7. Adjusting Sensitivity & Testing
This is fairly straight forward.. At this point you will need to use the USB Sensitivity Kit from Red Octane (or build your own) to connect via MIDI and set sensitivity for your individual kit.. With my kit I've always had a touchy "RED" pad so i had to set my sensitivity way down like 2-3 out of 10. I have no doubt depending on the way each user sets up their kits it may or may not need to be adjusted.
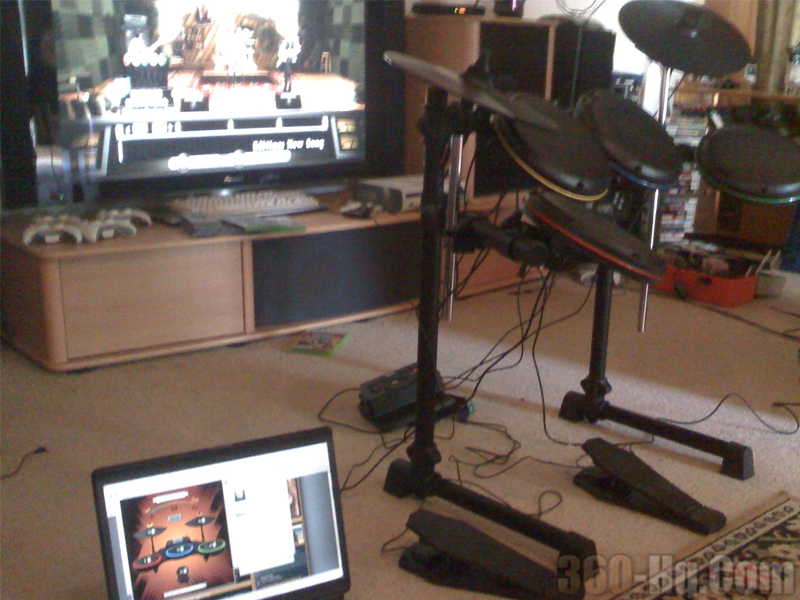
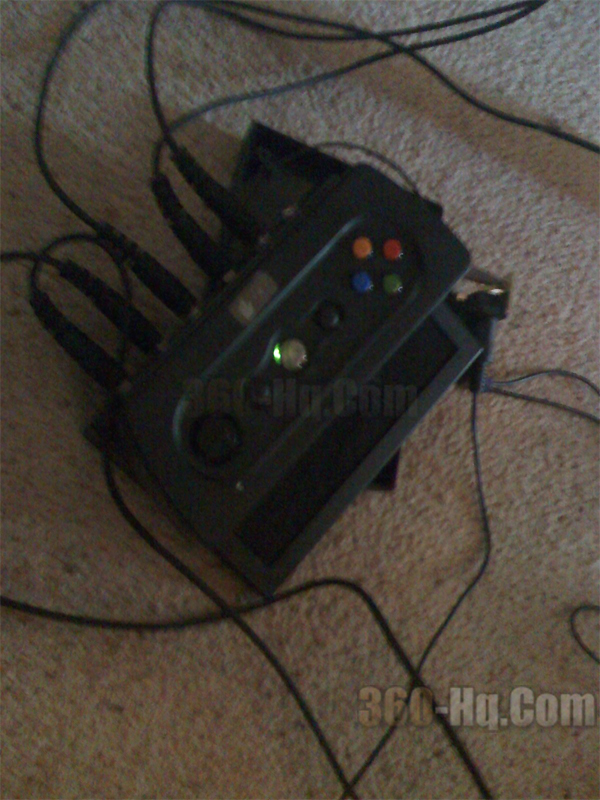
7.1 Setup the new module close to your ION drumkit and start connecting your cables..
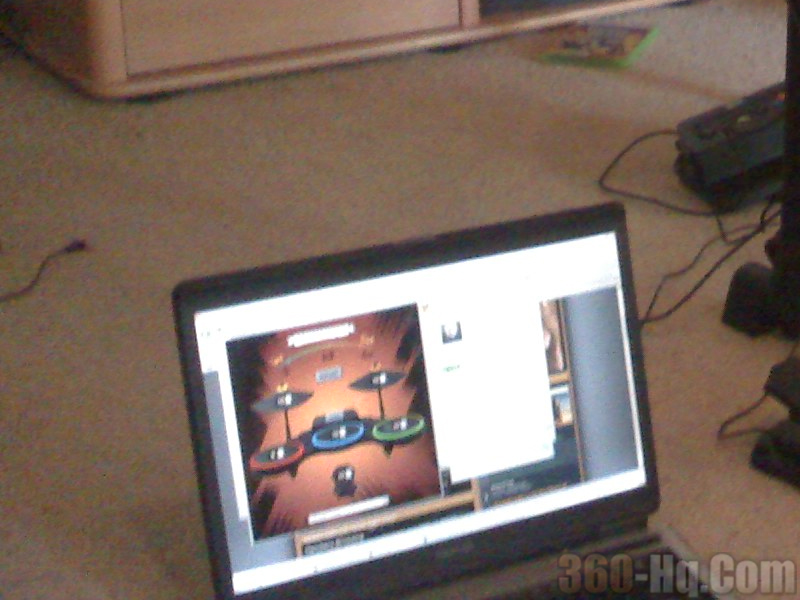
7.2 Connect your USB to MIDI cable from your laptop to the MIDI slot of your GHWT wireless module and start testing things out.
If you need to adjust the sensitivity of any color you can just use your mouse and the cool Guitar Hero GUI to adjust every drumpad. When you hit the "SAVE" button it will send a command to the drumkit. You can't miss it!
7.3 With your new kit wired correctly and working the way a new kit should it's now time to finalize things and tidy up.. If you have purchased a enclosure/module from a electronics store this will be very simple.. You can just mount the board however you like and then screw things up tight like i have.
8. Finished!
Time to go and test it out.. GO thash your kit like you stole it.. lol
Just jokes, i love my ION so i try to hit it soft.. heheh
I finally got 100% on my ION using 5 lanes. I used to get 100% on my GHWT before but it wasn't like the real thing.. This is definately worth the hard earned coin and effort for any drummer or drumming enthusiast. I'm hoping everyone else who attempts this mod gets the same enjoyment from it.. It's buch better then the boring 4 lanes it used to throw up and it feels like a real drum kit with a 5th note on the highway and configurable cymbals and pads..
Need help?? Just ask in our forums, I will do my best to reply to each and everyone who msg's or leaves a forum thread..