Joined: Feb 06, 2007 Posts: 2470 Location: Minnesota, USA XP: 58,502
Posted: Mon Aug 18, 2008 4:22 am Post subject: XCM's Light Wireless Controller Case Review
Well i decided to pick one of these up and i did get the chrome one. Which after i got eveything together i wish i would of went with a different color because now i can see all the fingerprints that i leave on it. But other then that it was very easy to install (minor soldering required) Reasonable priced from $24.95 to $29.95.
Other thoughts the light button was a sweet idea for this i can turn it off when ever, so i am not wasting any battery and since i have the nyko rechargable ones they last pretty long with this on. Each button that light's up are easy to see even when the lights are off and the A,B,X,Y are labeled on them to.
The buttons that light up are:A,B,X,Y,LB,RB, Xbutton in the middle(Power Button) The start button and back button. But the LT and RT do not light up. Very simple to install as said before i have some pics below. U dont have to be a Soldering Expert to install this mod.
I would Rate this product a 8 out of 10 only because it does not come with instructions on how to install everything and i would not advise to get the chromed one because of all the finger print marks that you leave on there unless you dont care ha.
Comes with the Controller the LT,RT buttons and the rest are installed to the top part of the controller itself. Also comes with the Security T8 Torx to open up the controller a plus for sure. To find instructions www.llamma.com has a very good detail set. I also have showed all the pics through the process and included a couple of llamma's because they had really detailed pics.
Parts needed to install
1.Soldering Iron
2.Solder
3.Phillips Screw Driver
4.A Security T8 Torx if somehow yours did not come with one
5.About 15-30mins of time
6. SORRY I PUT THE PICS IN THE WRONG ORDER START FROM THE BOTTOM AND GO UP. This is my Fault ha i thought i had to put them in from the last one to the first one ha. but anyways start from the bottom of the pics and go up with them.
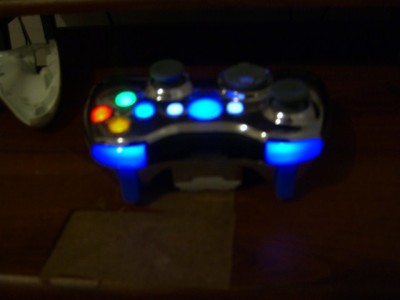
CIMG1081.JPG
Description:
Another View of it turned on.
Filesize:
56.87 KB
Viewed:
3464 Time(s)
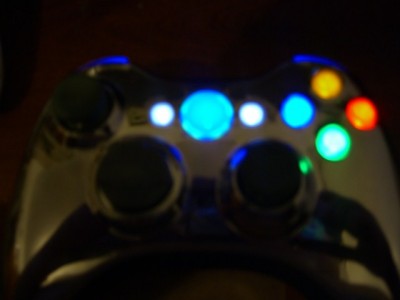
CIMG1077.JPG
Description:
Put back together and Turn it on
Filesize:
57.32 KB
Viewed:
3176 Time(s)
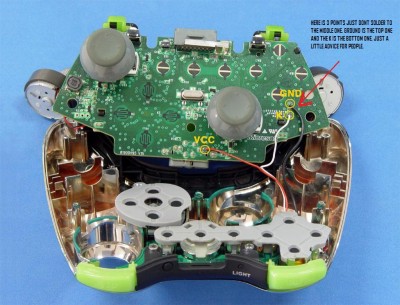
XCM-Xb22.jpg
Description:
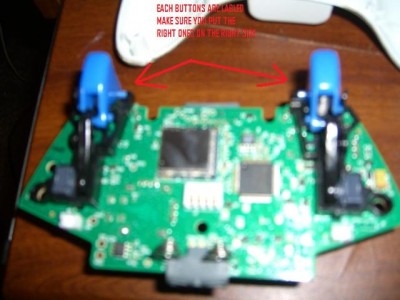
Llamma's pic but added some extra info this is the one i could not get a clear pic for you all. This is were the soldering comes into hand look at the pic read the description i added and you should be fine
Filesize:
134.27 KB
Viewed:
3044 Time(s)
CIMG1069.JPG
Description:
put everything back together like this
Filesize:
174.99 KB
Viewed:
3721 Time(s)
CIMG1068.JPG
Description:
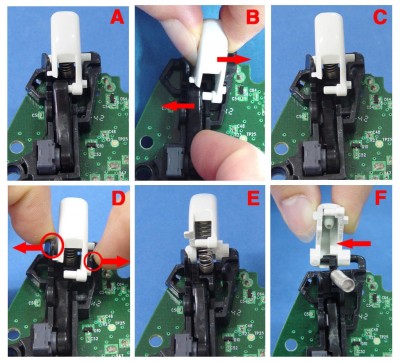
Add the LT and RT Buttons in same way as you take them out.
Filesize:
77.37 KB
Viewed:
3054 Time(s)
CIMG1065.JPG
Description:
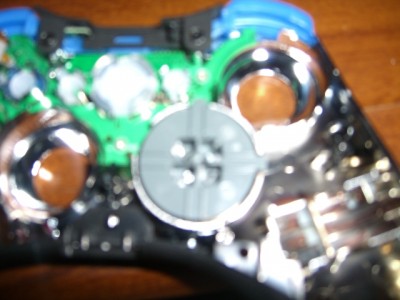
Put it on the new Xcm Controller
Filesize:
174.78 KB
Viewed:
4176 Time(s)
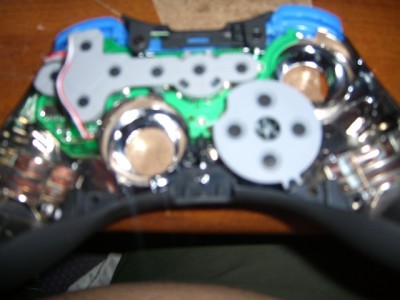
CIMG1064.JPG
Description:
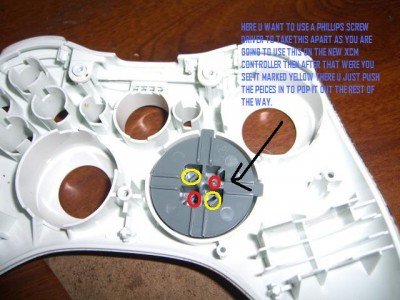
Use a phillips to take the D-Pad apart.
Filesize:
91.38 KB
Viewed:
3402 Time(s)
XCM-Xb12.jpg
Description:
Llamma.com img very detailed i just couldnt get a good pic with my camera.
Filesize:
171.18 KB
Viewed:
5166 Time(s)
CIMG1062.JPG
Description:
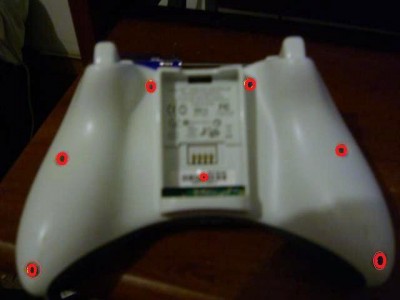
Remove the 7 screws that hold the controller together use the tool that xcm sent with the controller if you did not get one it is a Security T8 Torx
Filesize:
45.7 KB
Viewed:
3058 Time(s)
CIMG1058.JPG
Description:
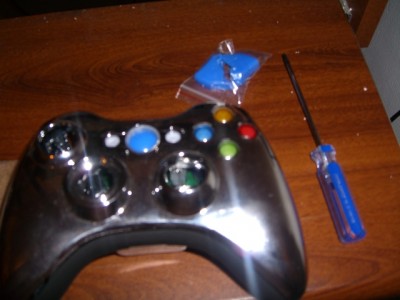
Xcm Controller Case with parts
Filesize:
173.24 KB
Viewed:
4698 Time(s)
_________________________________________________________ The one the only Scarface!!
Nice deal bro, looks good and the guide is easy to follow.
SCARFACE Administrator
Joined: Feb 06, 2007 Posts: 2470 Location: Minnesota, USA XP: 58,502
Posted: Mon Aug 18, 2008 8:10 am Post subject:
wes213 wrote:
Nice deal bro, looks good and the guide is easy to follow.
Ya if you start from the bottom and work your way up lmao ya minus the finger prints all over the place the controller still functions like normal pretty cool controller i would have to say. _________________________________________________________ The one the only Scarface!!
|
All times are GMT |Page 1 of 1
You cannot post new topics in this forum You cannot reply to topics in this forum You cannot edit your posts in this forum You cannot delete your posts in this forum You cannot vote in polls in this forum You cannot attach files in this forum You can download files in this forum