 Removing the Xbox 360 Motherboard
Published by LegendaryFire on 2010-07-17
Warning: Use this tutorial at your own risk!
Requirements:
- XBox 360 Console
- Torx T9
- Torx T10
Steps:
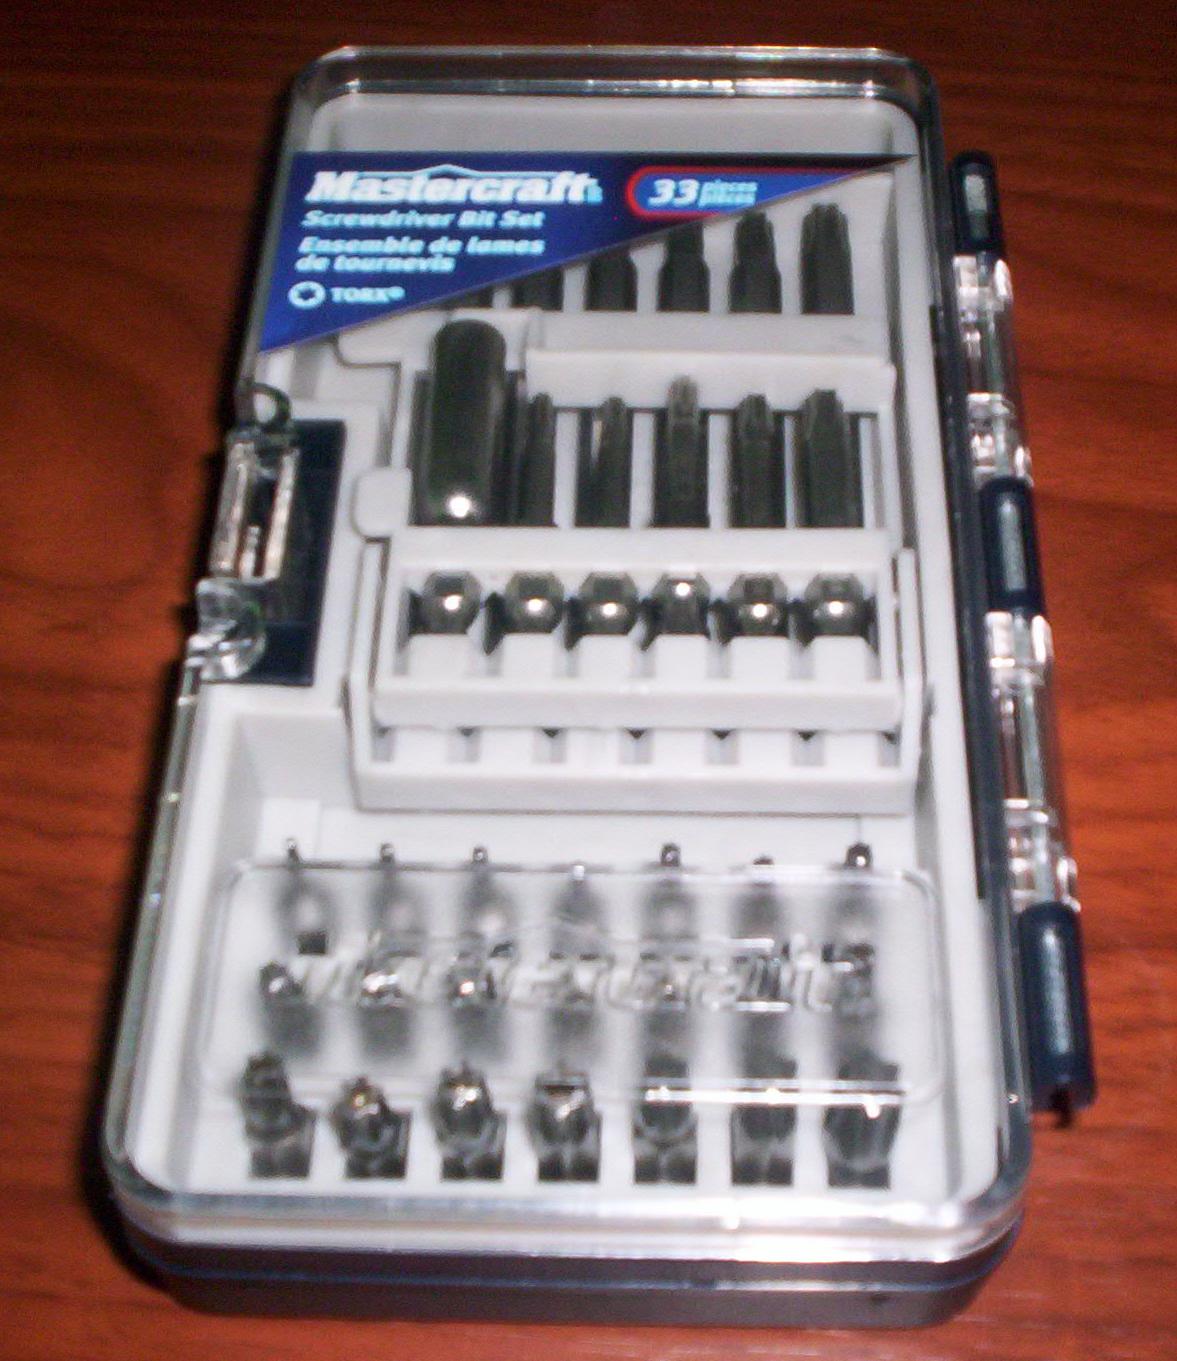
Here is the ScrewDriver Bit Set I used just incase your having a hard time finding a Torx T9 like I did.
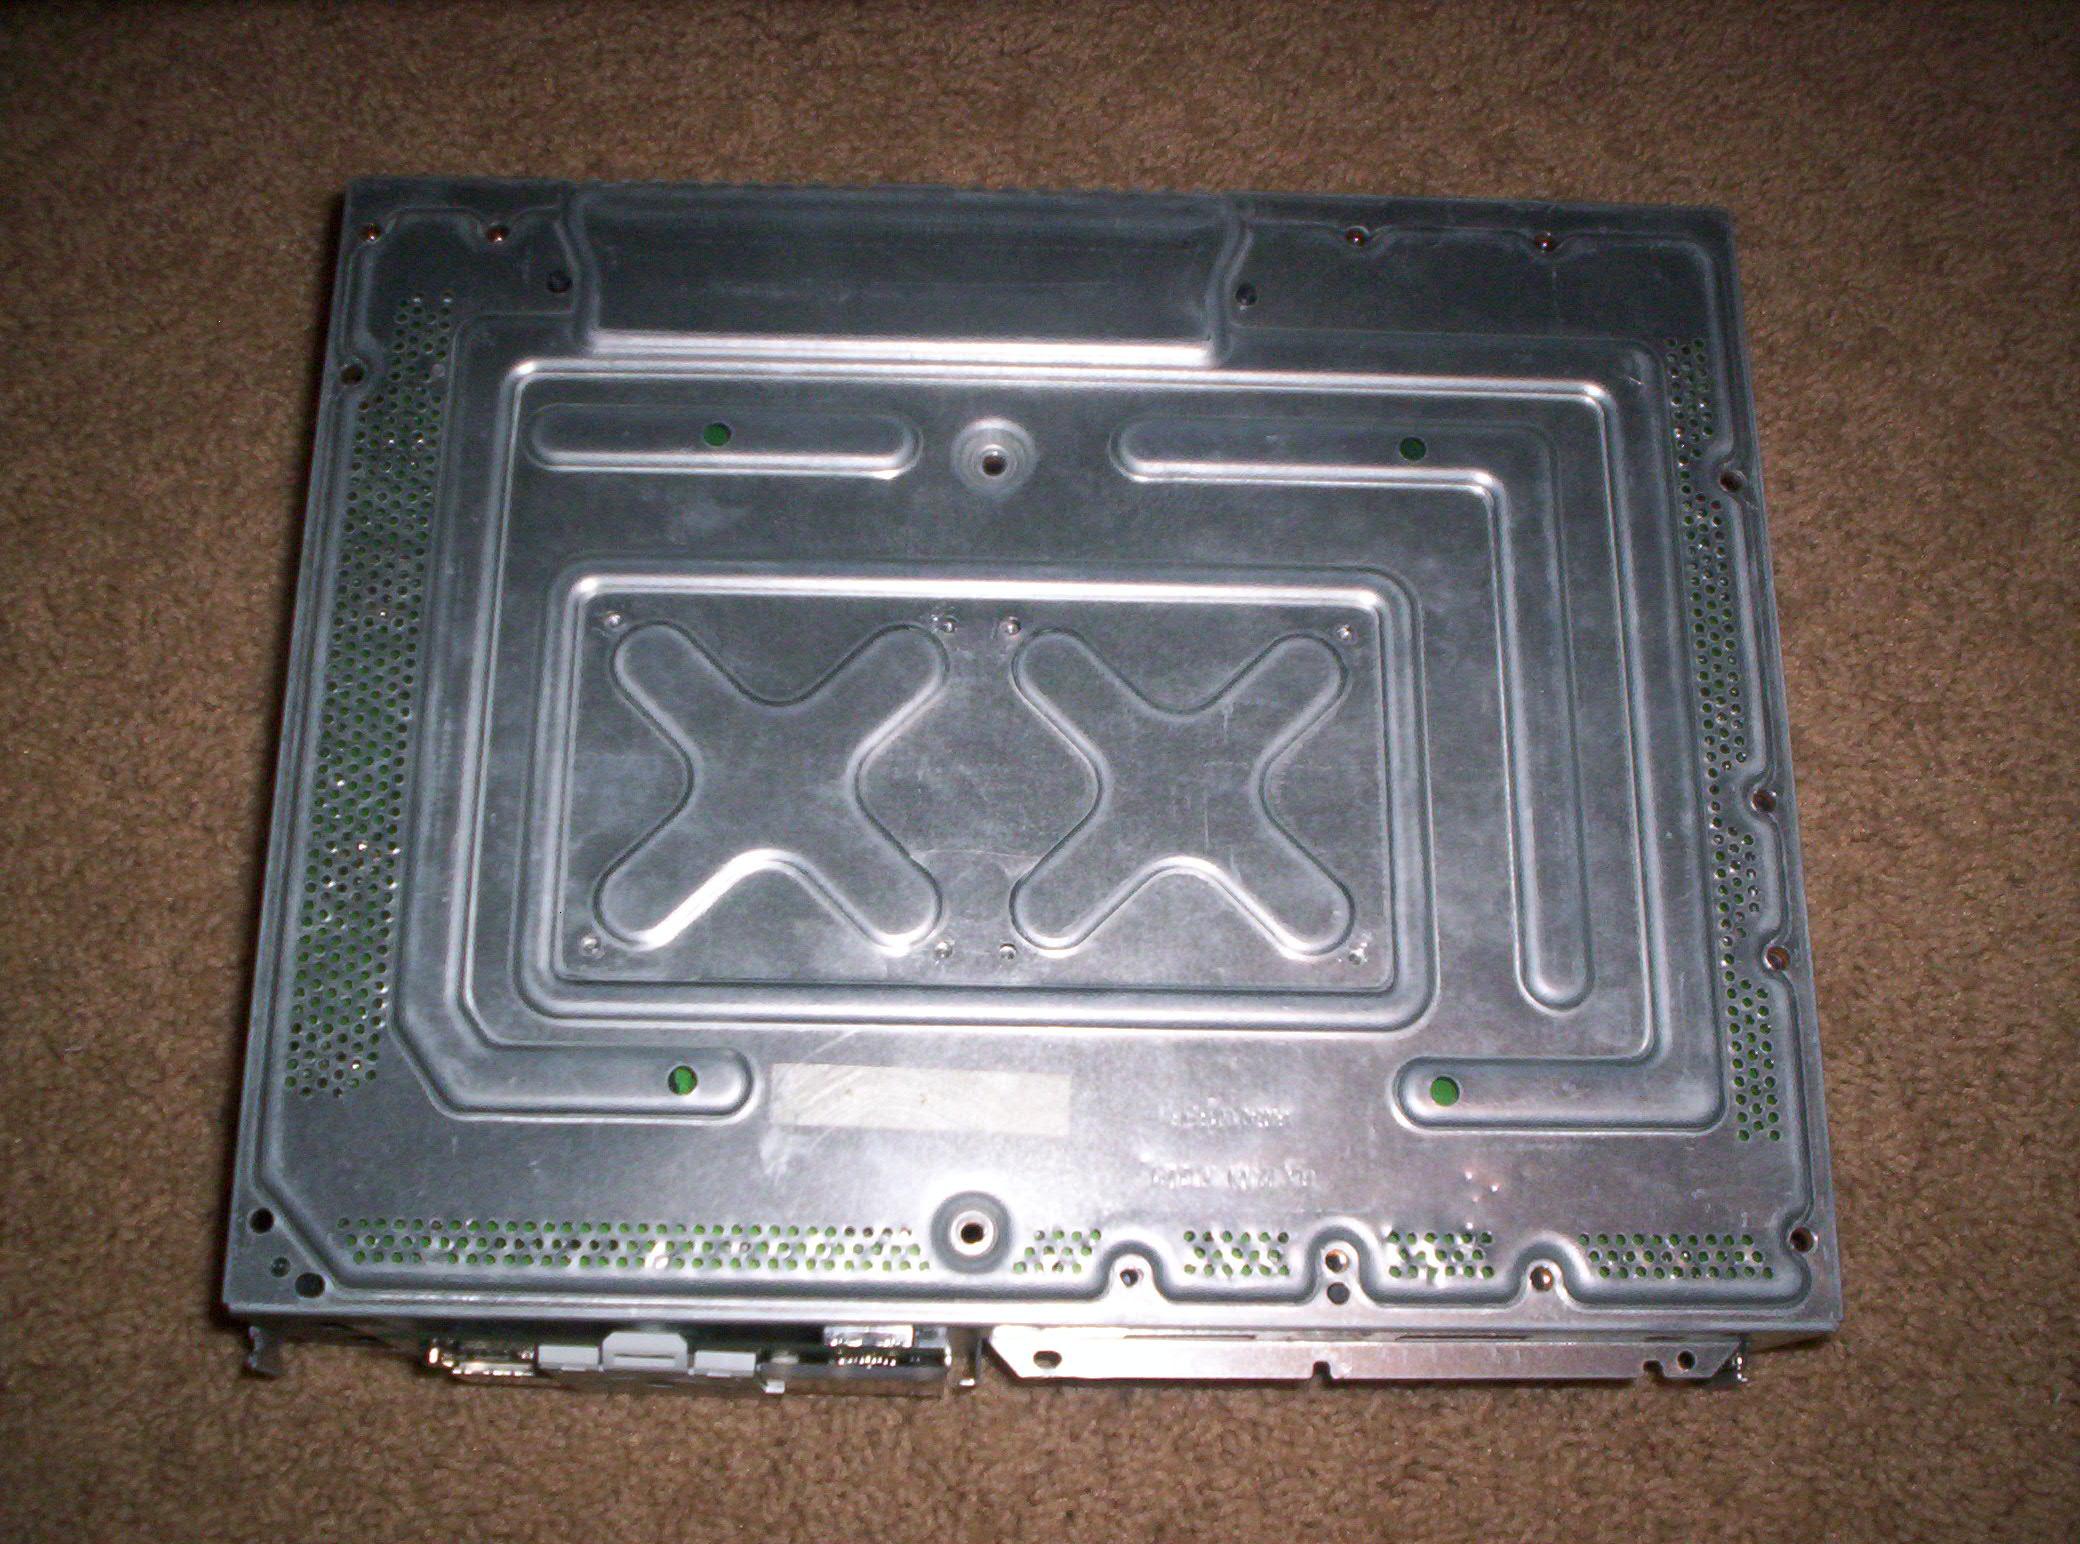
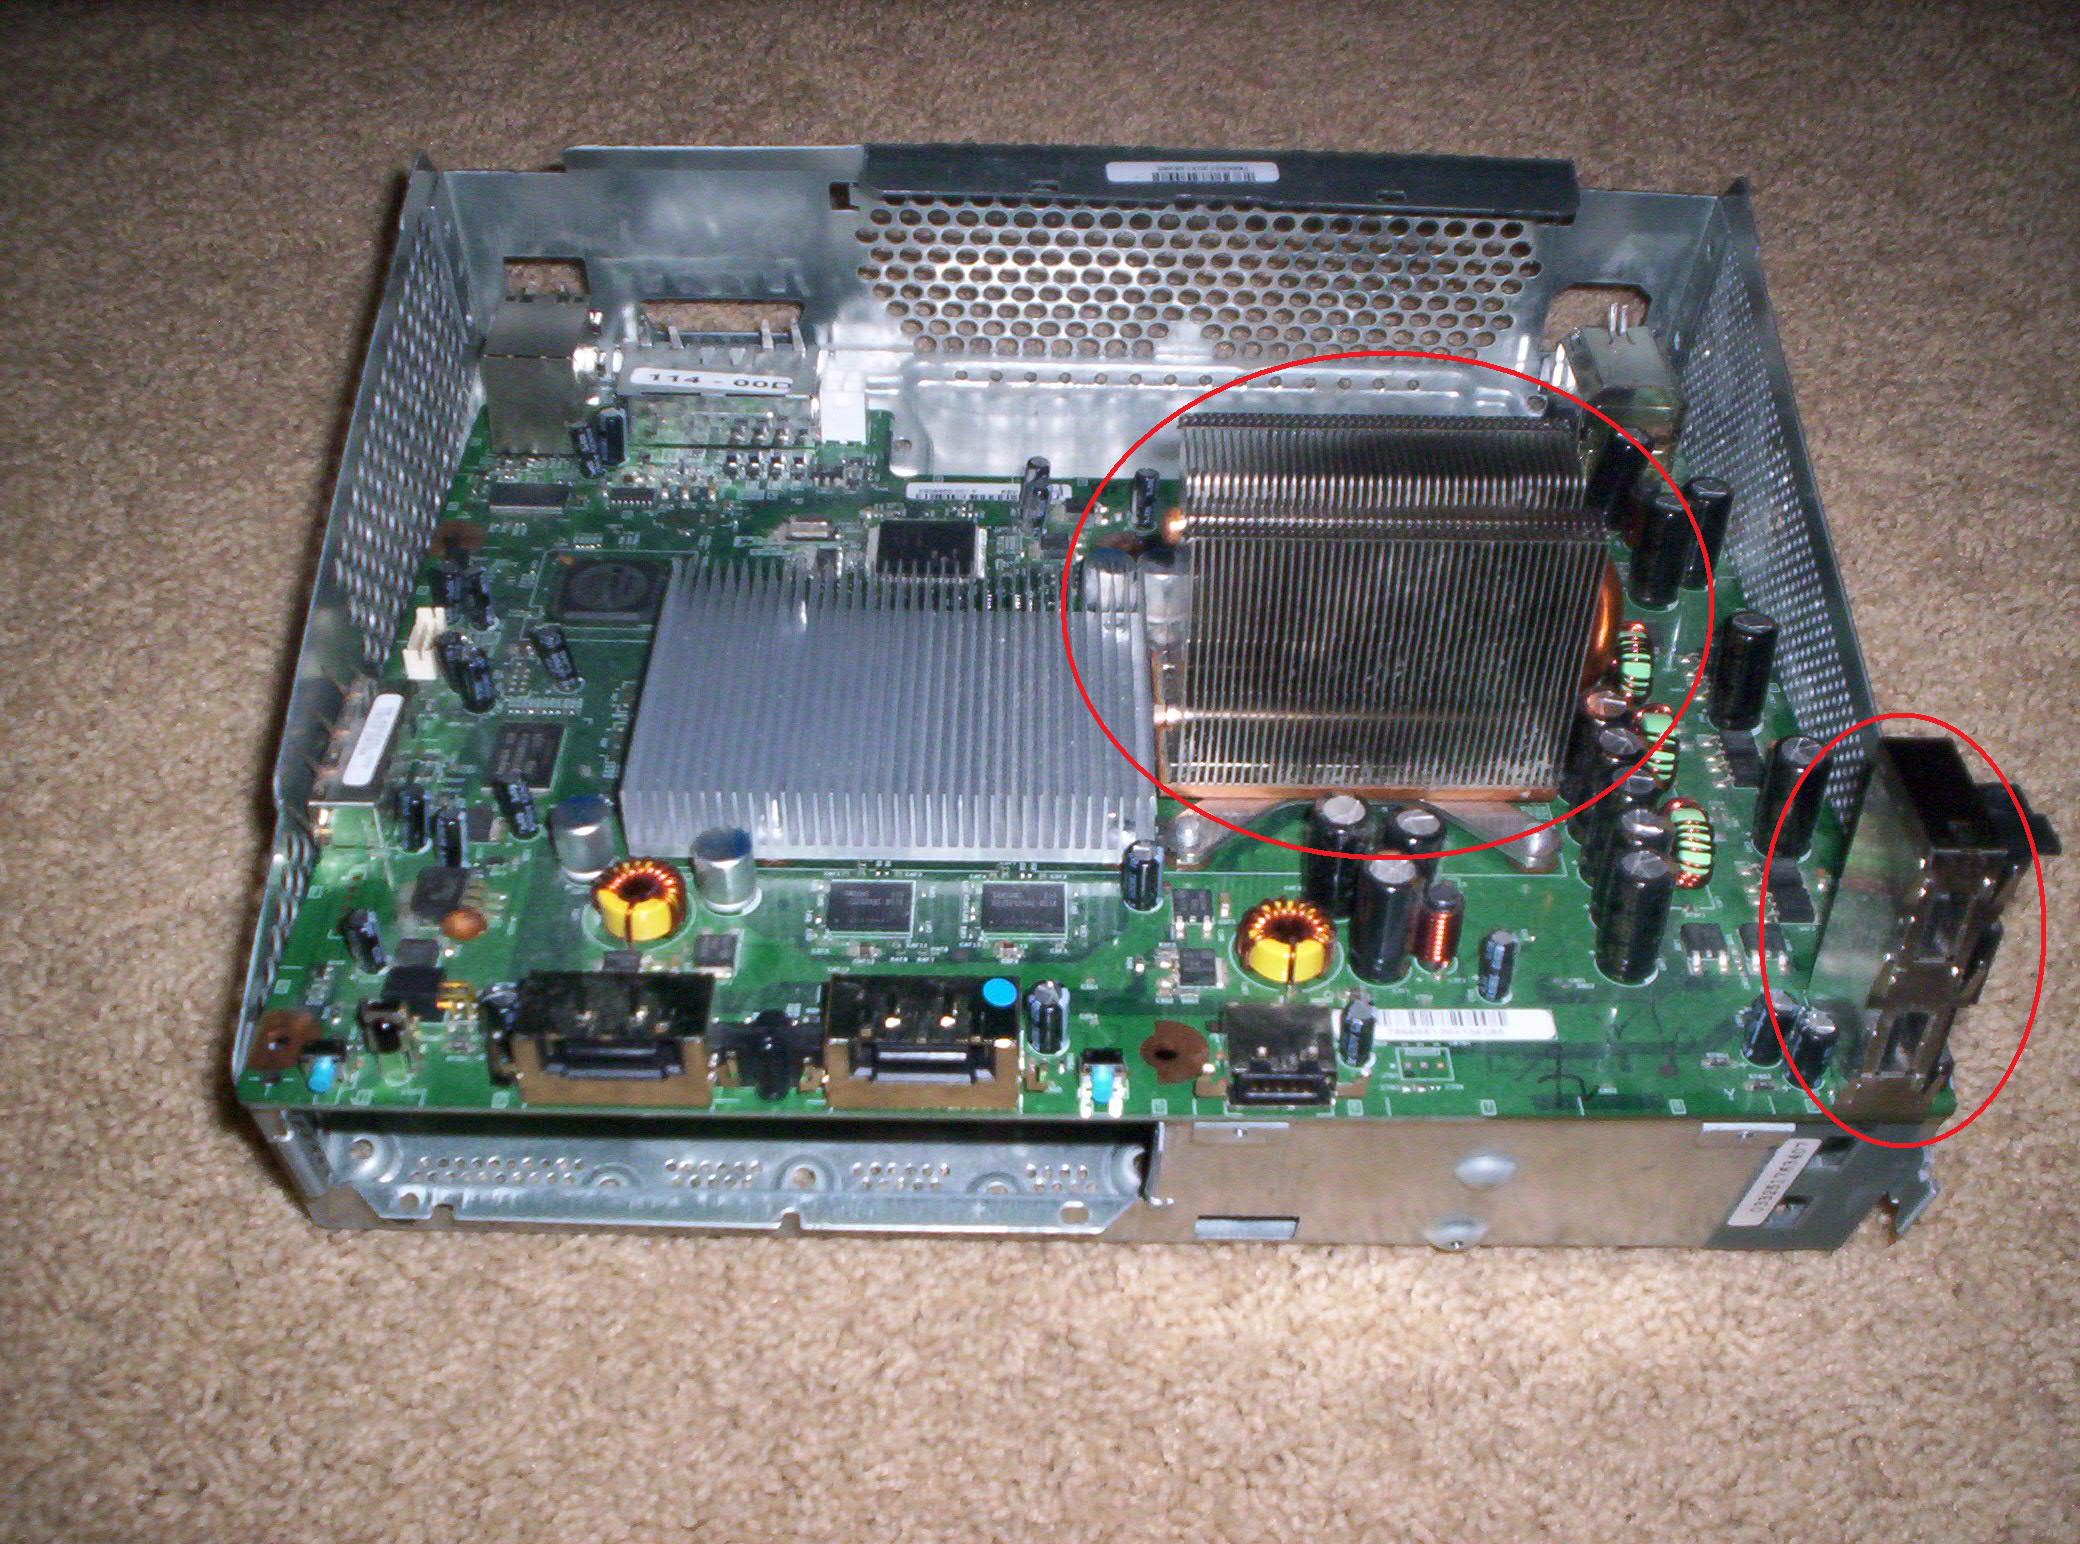
1) Start off by removing all the screws at the bottom of the motherboard so it would look like the picture below once you are finished. Use your Torx T10 to remove the screws.
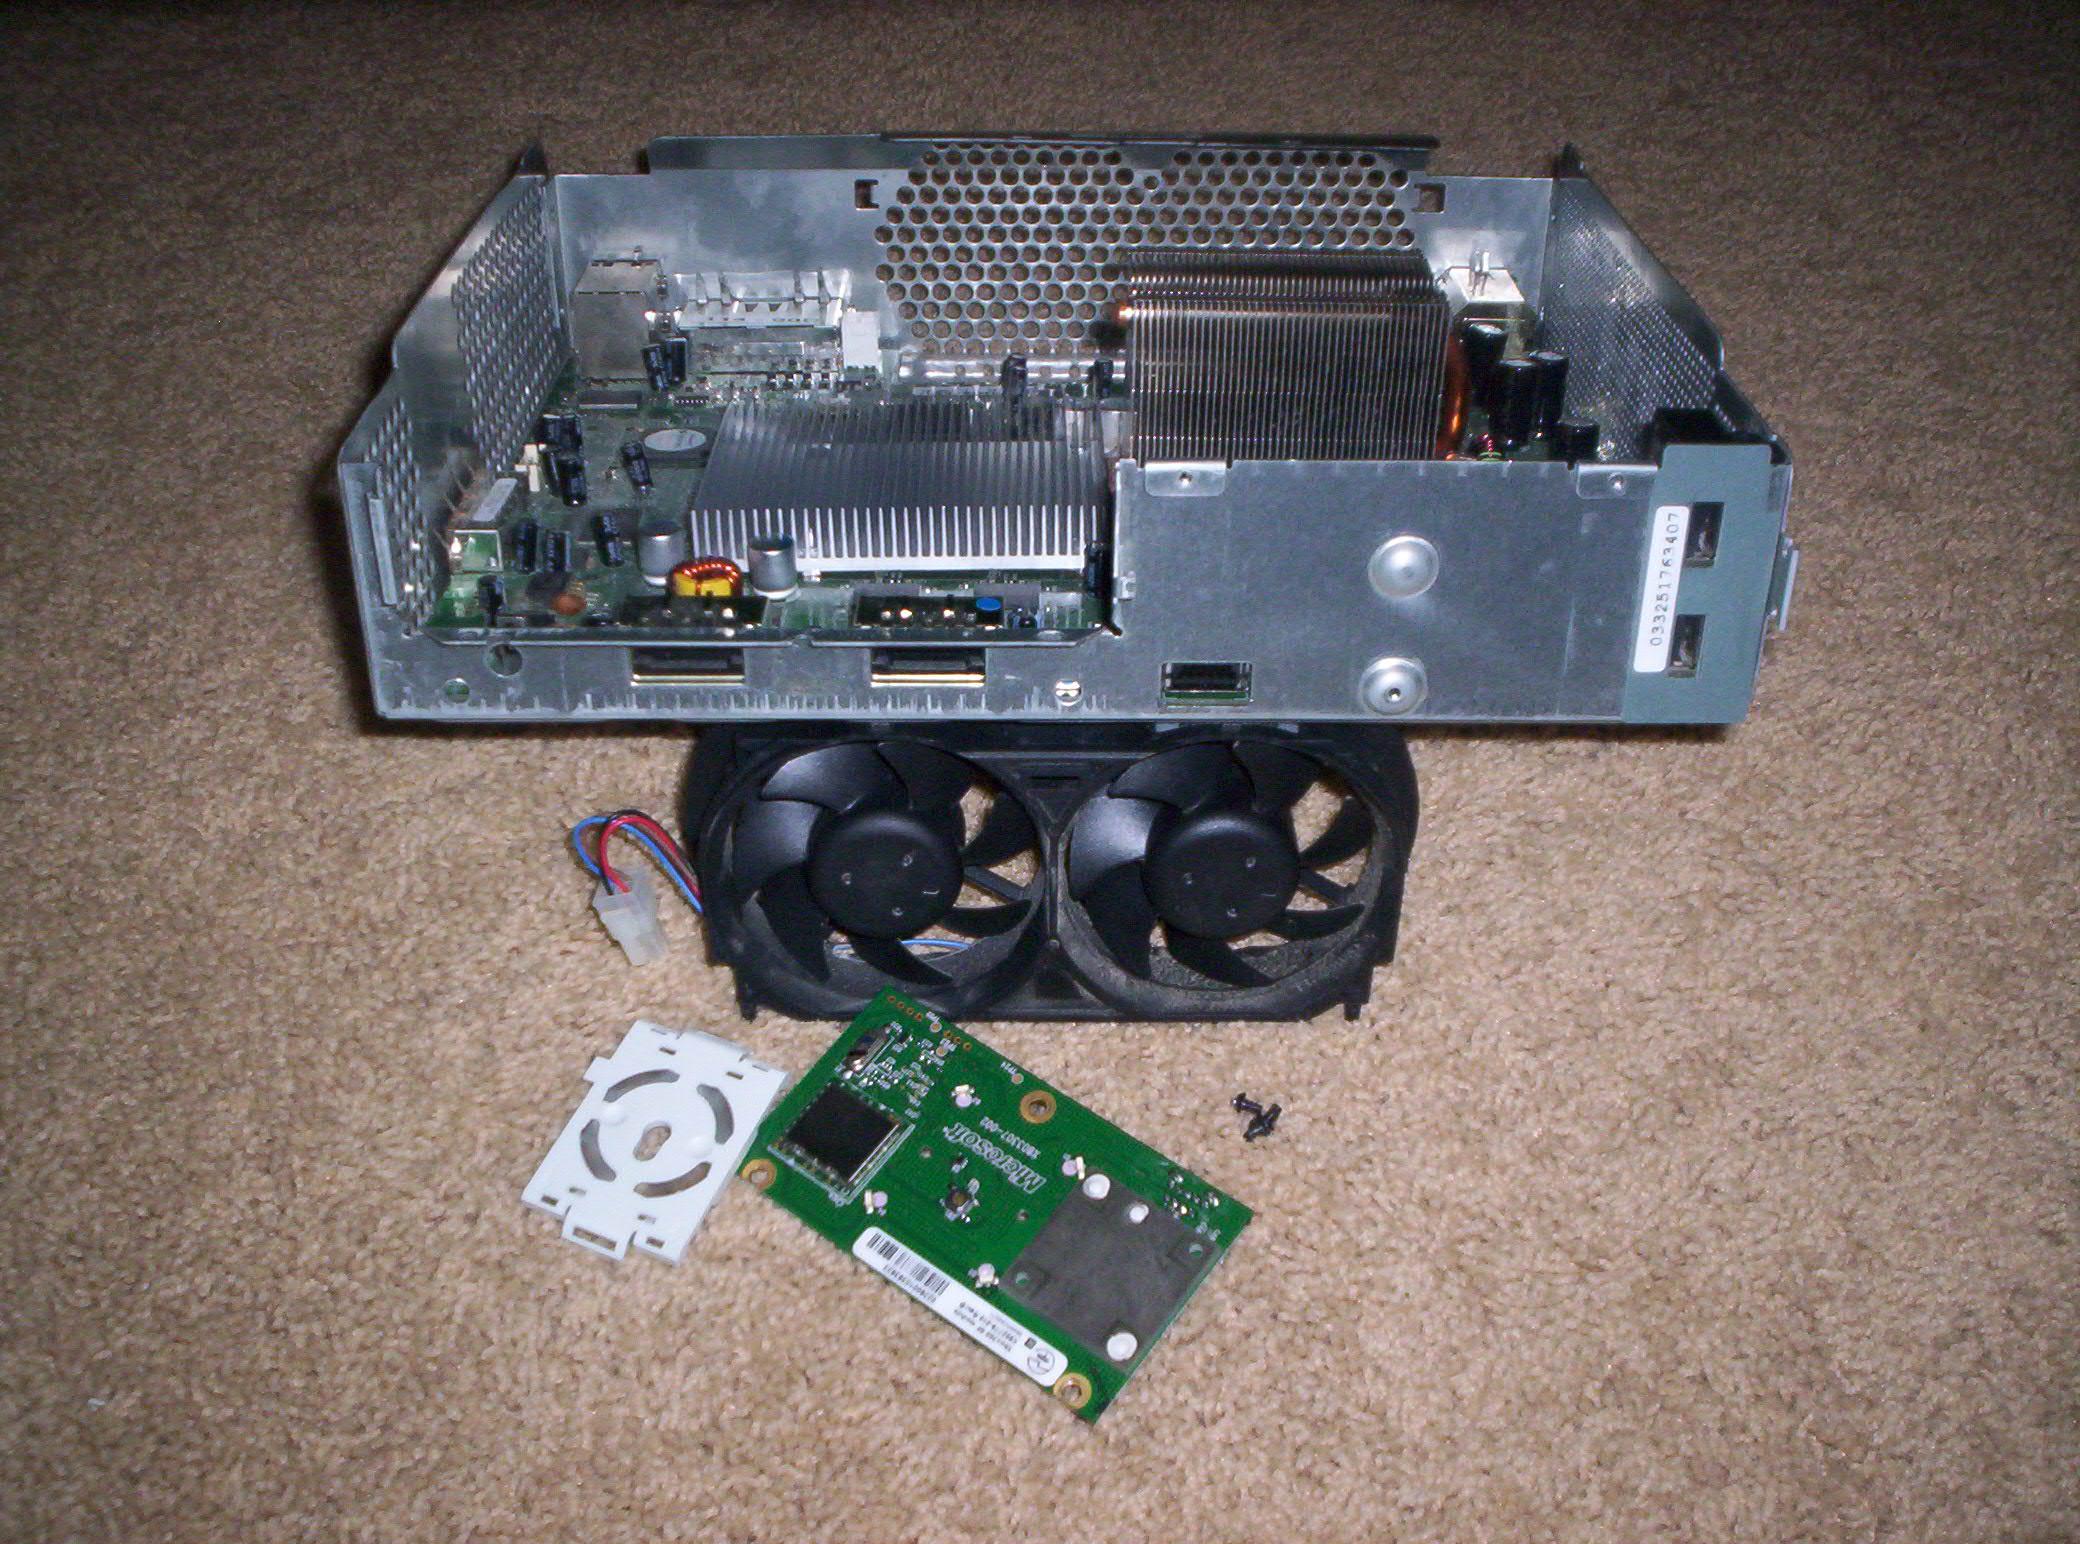
2) Now, unplug the cable going from your Xbox 360 Motherboard to the Xbox 360 fan. Now, bend the metal over the fan just enough to have the fan lift up and slide out of the slot. After you have removed the fan, remove the light clip by simply clipping it off.
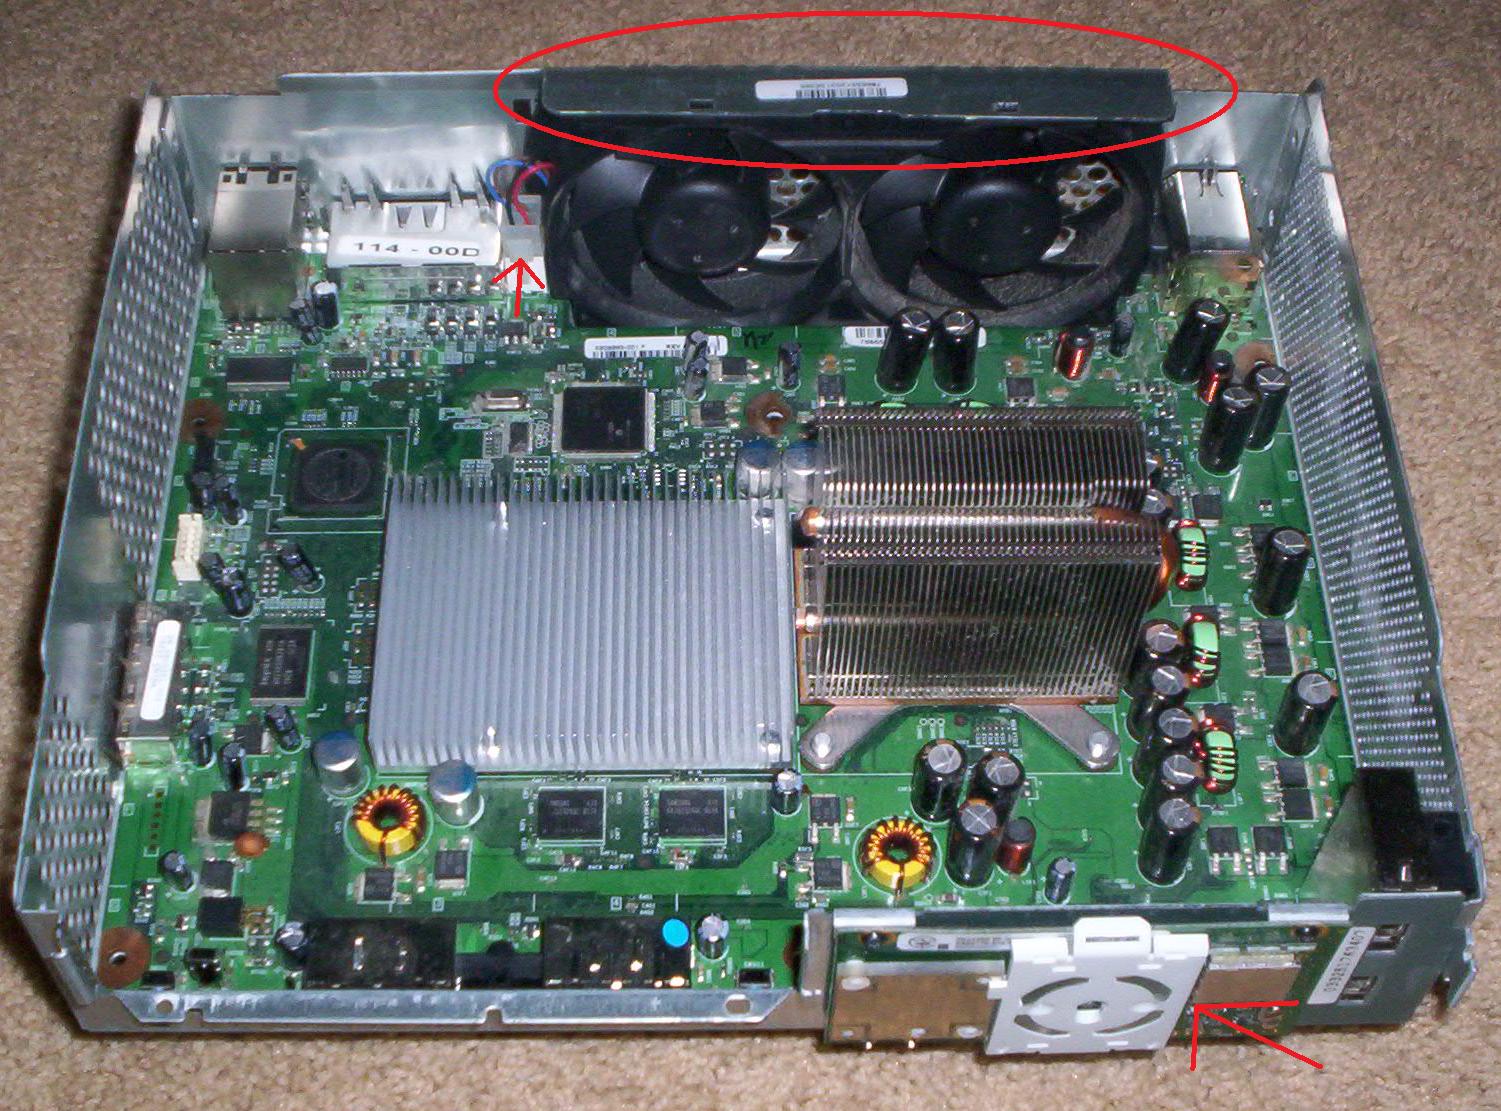
You should now have a XBox 360 that looks similar to the one below in the picture.
3) You can now remove all the screws in the light board. Unscrew the screws pointed to with your Torx T9 screwdriver in the picture below.
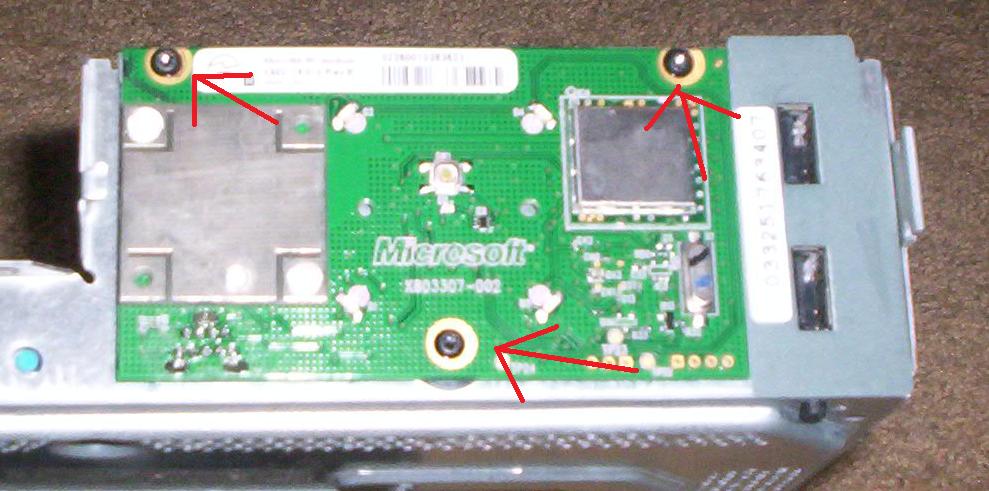
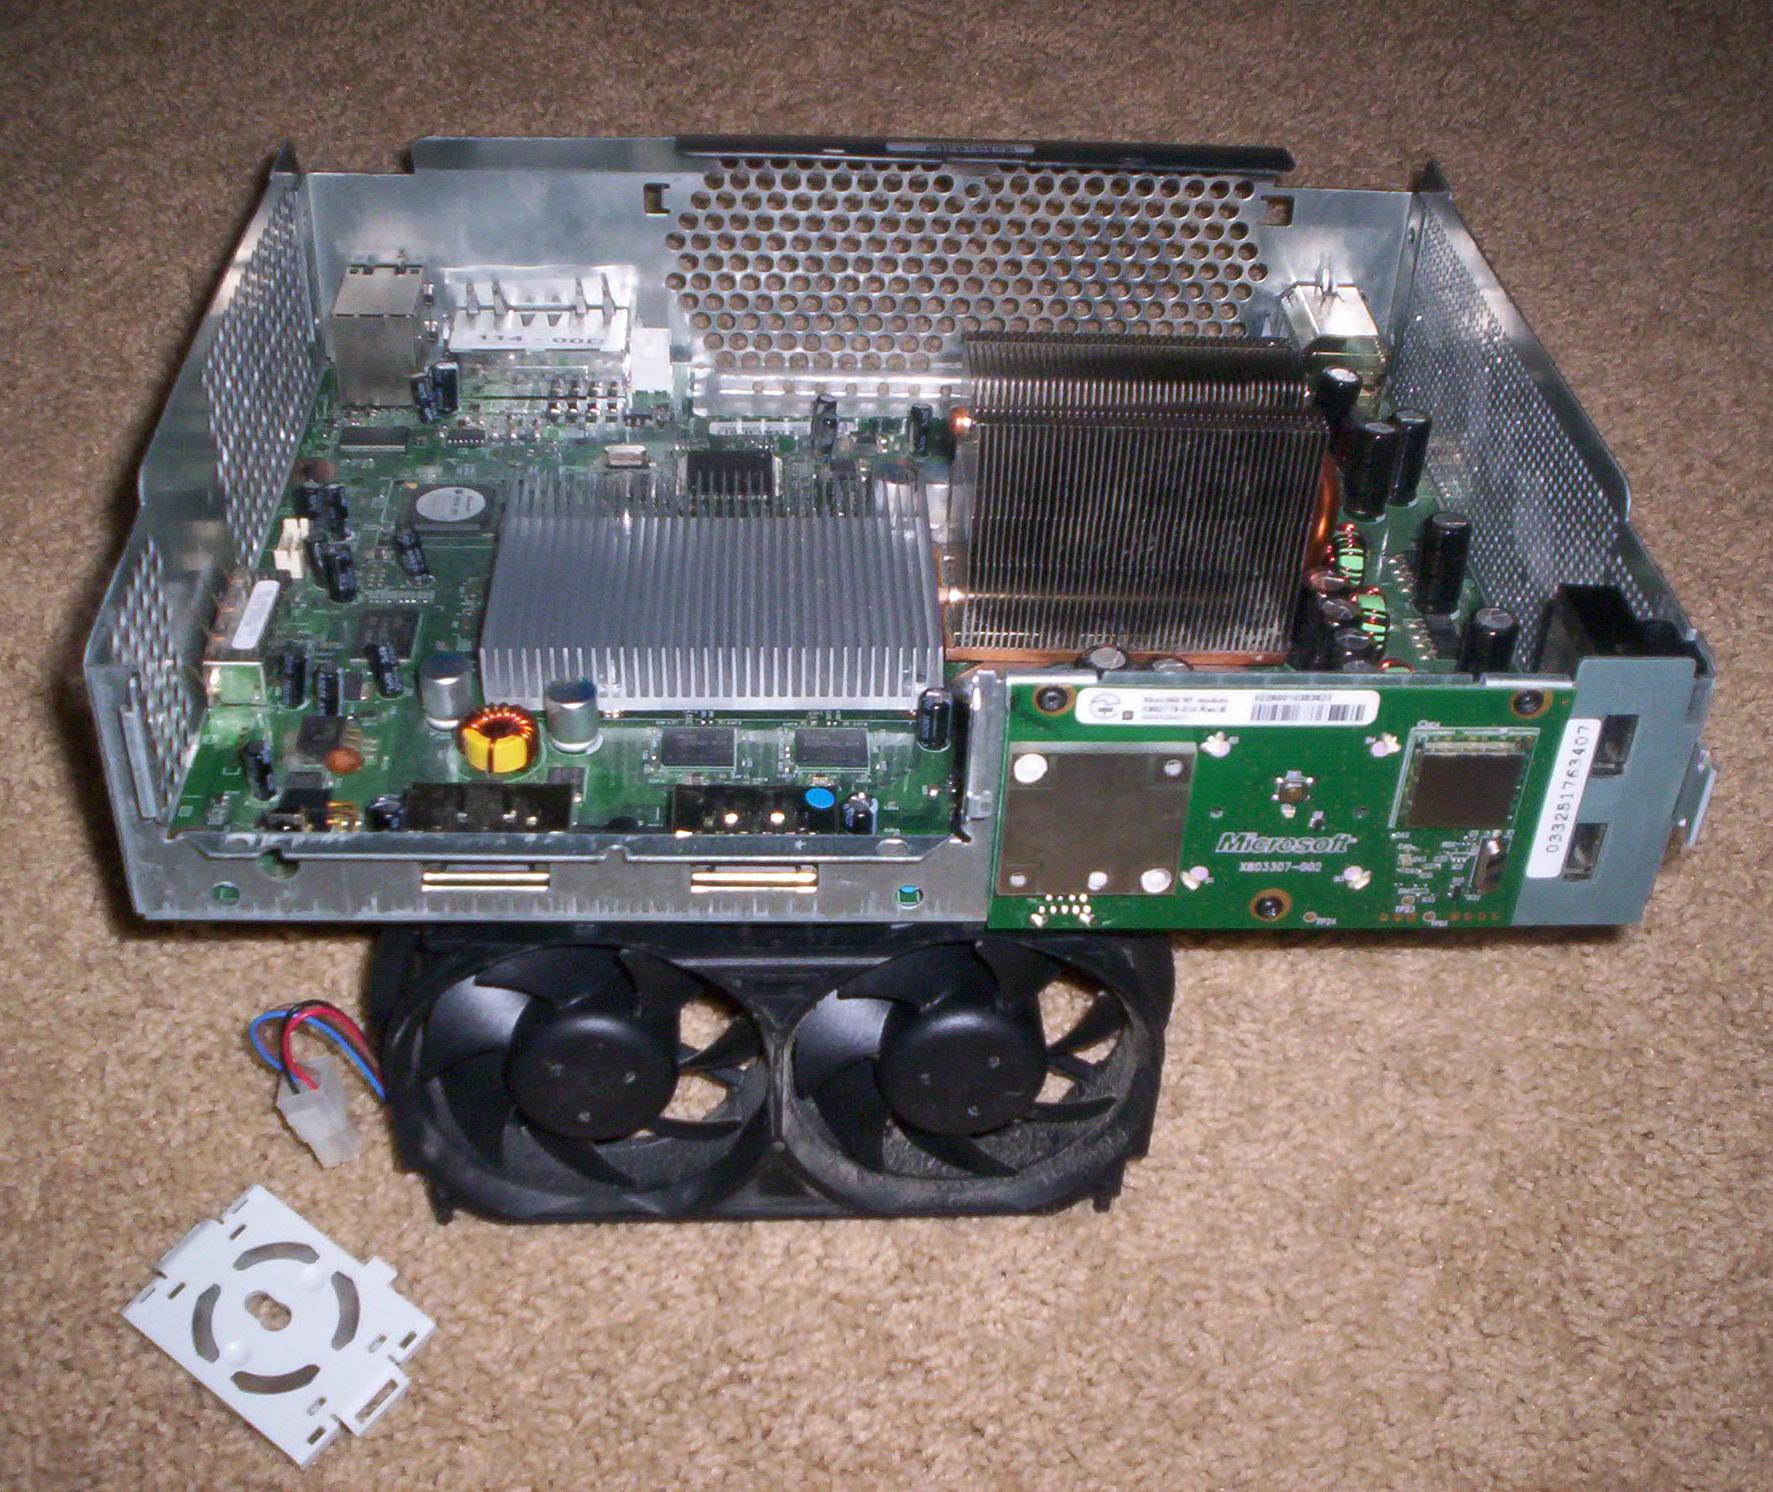
Your Xbox 360 should look similar to the one below.
4) You can now pull the XBox 360 motherboard out using the heatsink.
|
|