 Easy Step By Step 360 Controller LED Replacing Tut
Published by h4xp4r4d0x on 2009-03-23
Introduction
This tutorial will show you a simple way to change your controller leds on your xbox 360. Below is the link to the forums where i started writing this tutorial, i meant to post it here but wasn't thinking straight and put it in the forums. Also within the next two weeks i am going to be posting a step by step tut on removing and replacing the LEDs on the console.
KEEP IN MIND WHILE IF YOU ARE GOOD AT SOLDERING YOU WILL DO FINE ON THIS! THE LEDs ARE LITTERALY ABOUT 1mm OR 1.5mm LONG!! IT WILL TAKE SOME PATIENCE AND MAY BE FRUSTRATING!
Over a course of 2 days and about 6-7 hours total trying to get it right. we tried using tweesers but that didn't work, we tried just holdint it there, (can u say 3rd degree burns much?) and we also tried model glue, while it didnt break or fry anything, as it dries the LED slides off place, plus it was a huge mess to clean up when it dried. Rolling Eyes but then we figured, 'hell, why not just tape it down?' and it worked. the following is a fairly easy tutorial on changing your controllers LEDs.
WE ARE NOT TO BE HELD RESPONSIBLE IF YOU F**K UP UR CONTROLLER!
Let's Get Started
1. First you want to get the old LEDs off of the controller, (i would strongly reccomend that you start w/ the 3rd or 4th player LED so if you mess up its not that big of a loss) get a big blob of sauder onto the LED and use the sauduring (SP) iron and just move it around the LED until it comes off. at that point it may or may not work again.
all of these pics being posted were after the LED was put in and soldered on, didnt take the time to take it out and re-do it
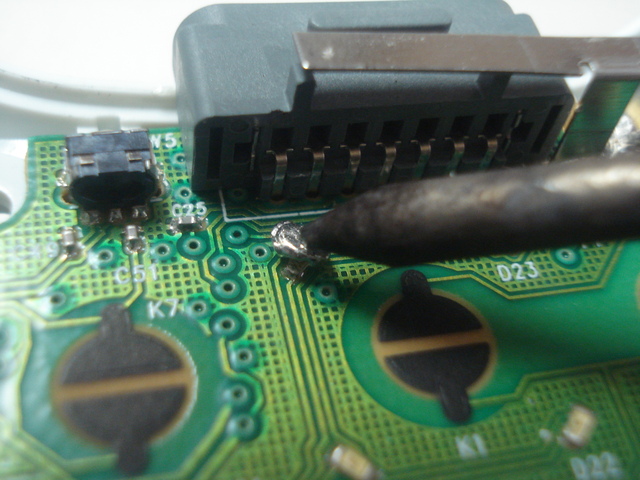
2. now you get out the new LED. get some scotch tape and make a thin slice of it, put half of the LED (face side up of course) on the flat end of the tape. keep the board in the bottom part of the shell and have the batteries in. tape the LED so that it aligns with the 2 points that you just took the LED off of.
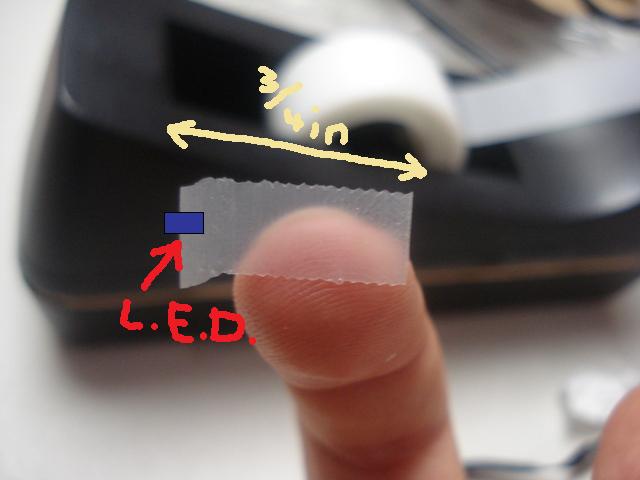
it will look something like this...
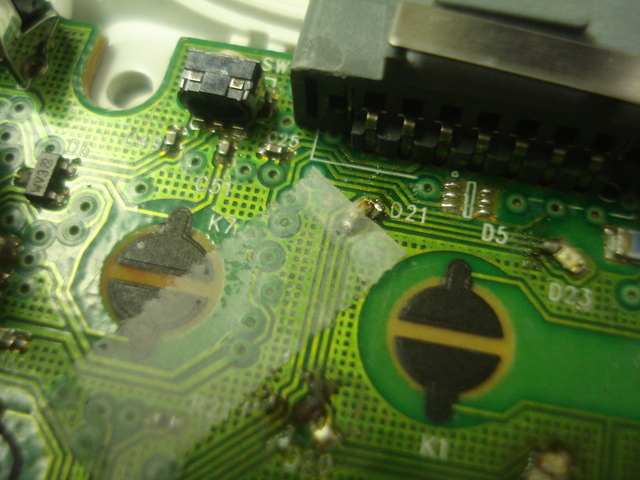
3. now turn on the controller, you need the rubber piece that was onto of the button to push down the guide button or else it will not work. if it does not light up at first, DONT WORRY. If this happens, just move it around with your fingernail keeping it on the 2 soldered points. and if it still doesn't work, turn the LED 180 degrees, the LED has a positive side and a negetive side to it and if they are flipped it wont work. and once you get it to light up w/o you holding it down ur ready for the next step.
THIS IS BY FAR THE LONGEST AND MOST FRUSTRATING STEP.
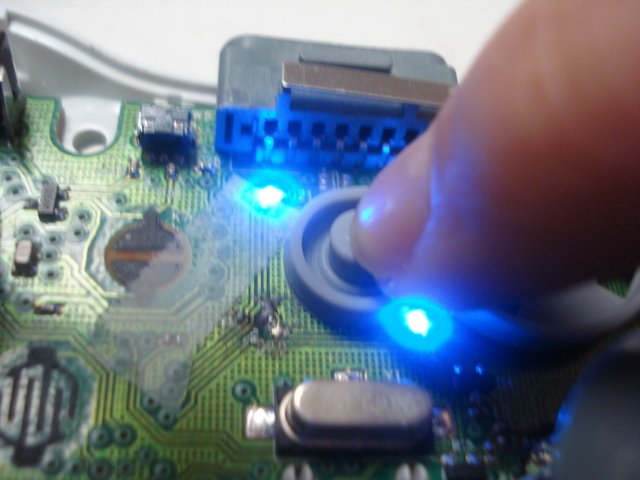
4. now you are going to solder the LED on so kill the power in the controller and heat up the soldering iron. YOU ONLY NEED TO SOLDER ONE SIDE! DONT WASTE YOUR OWN TIME! ever so gently solder it on, once its in place turn the controller on again before you remove the tape. if it does not light up, it moved when you were soldering it. if it does it is done. this may take some time if you have never soldered anything before.
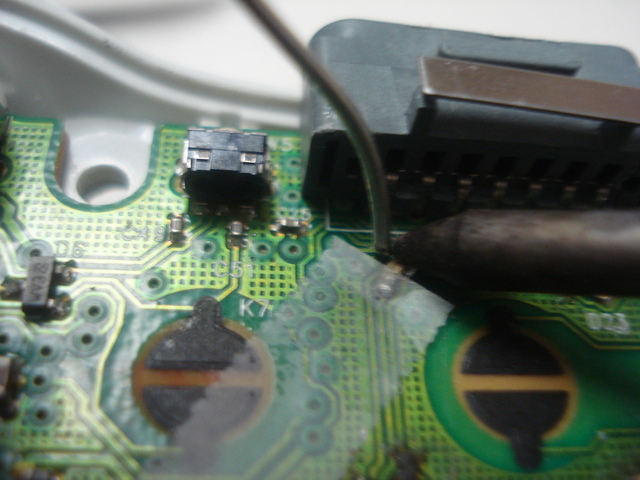
You only need to solder one side, and it dosent even need to be anywhere near perfect so long as it works, this is a picture of the first one that i ever did and it is nowhere near what the old LED looked like when it was on, but it works great!
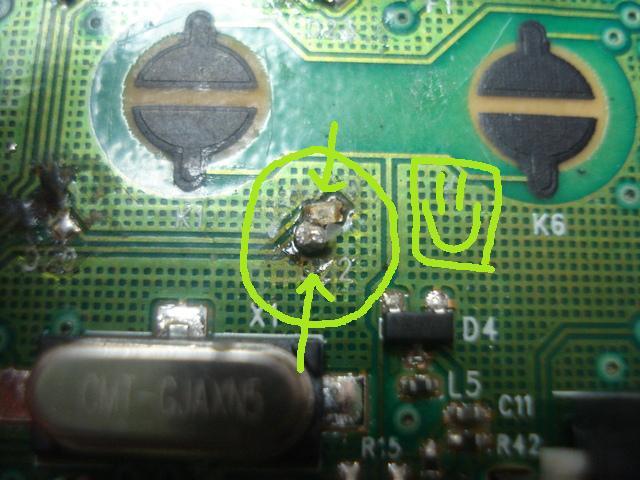
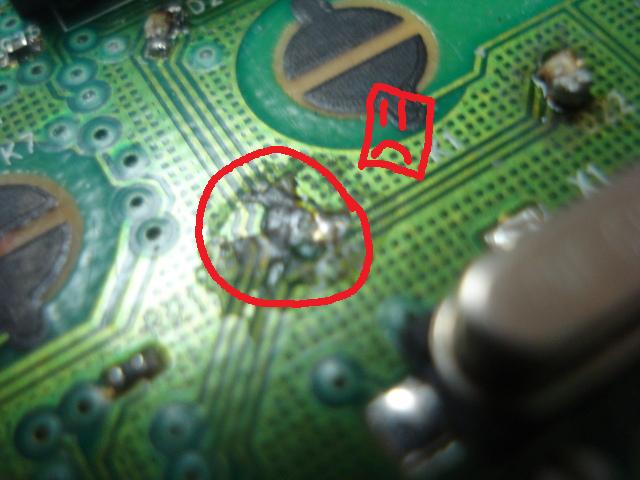
There was one that we f**ked up on though, we grew impatient when we tried to solder it off and it was being stubbern so we used a pick to rip it out, and with it came all of the copper wiring that it had. it will never work again.
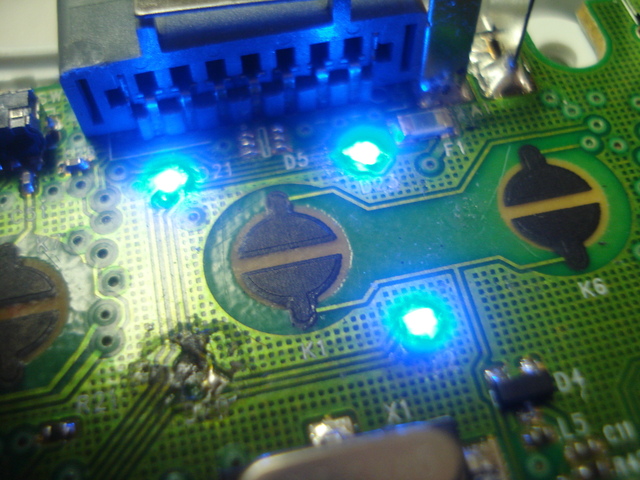
The Final Product
In the end it will look like this, (but hopefully you guys will have all four).
also, before i had enough money for a soldering iron, i just taped all 3 of them down and put the controller back together, it worked fine but it can fall apart so i would reccomend soldering it.
THX FOR READING!!
Related Link: Very easy way to change the 360 controller LEDs
|
|