 Disassemble XBox 360 Hard Disc Drive
Published by LegendaryFire on 2010-07-17
Introduction
This tutorial will explain how to dissassemble your Xbox 360 Hard Drive.
Warning: Use this tutorial at your own risk!
Requirements:
- XBox 360 Hard Disc Drive
- Torx T9
- Torx T10
Steps:
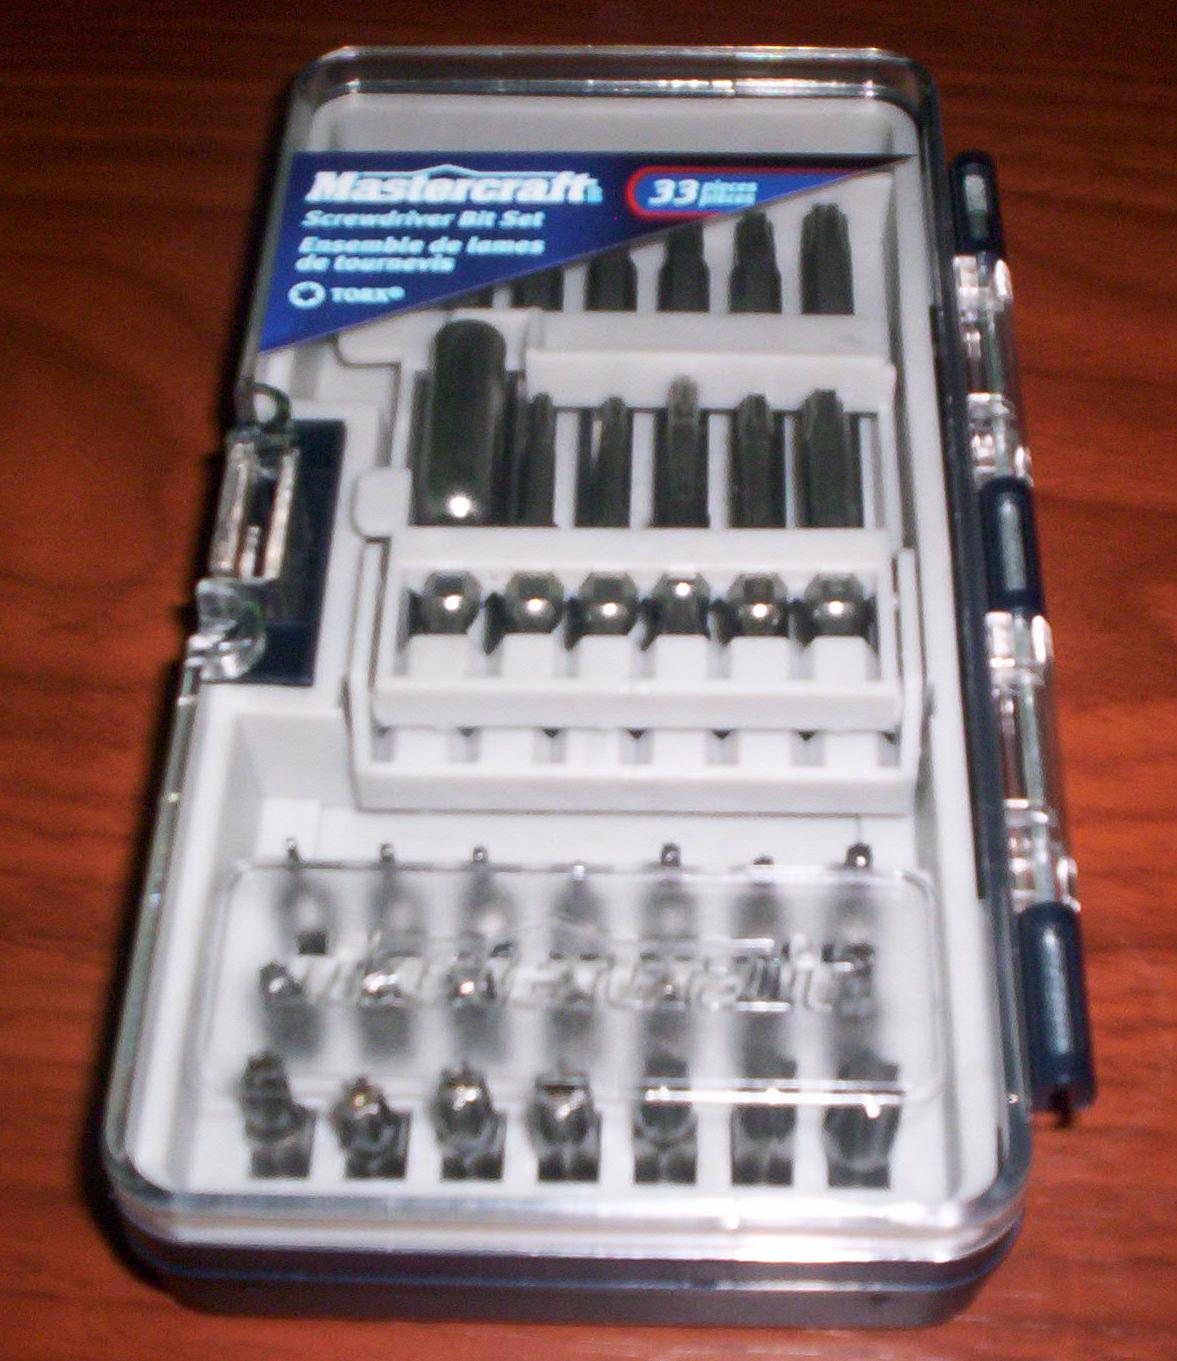
Here is the ScrewDriver Bit Set I used just incase your having a hard time finding a Torx T9 and Torx T10 like I did.
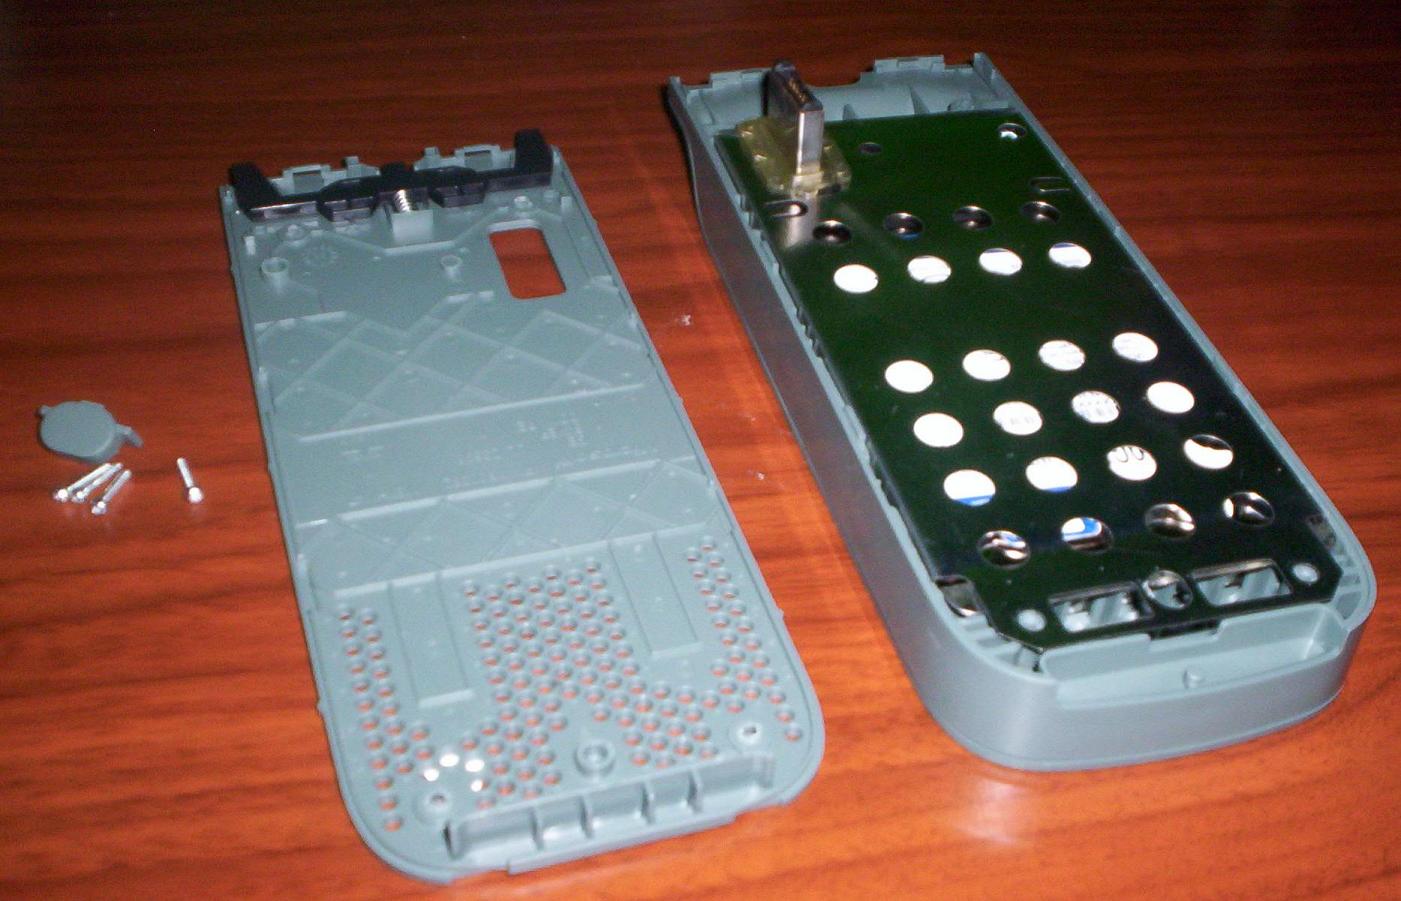
1) You should be starting with a Hard Drive that looks very similar to the one below, start off by taking your Torx T9 and unscrewing the screws that have arrows in the picture below. You may have the MS sticker covering the top right screw, that is your warranty sticker, and must be removed. I will post a tutorial on how to remove the sticker without voiding the warranty soon.

2) Once the cover is off, you should see 2 or 4 screws in the case. Remove them ALL using your Torx T10 so it should look similar to the picture below...
3) You can now remove the HDD Bracket from the HDD Case so it would look like the picture below.
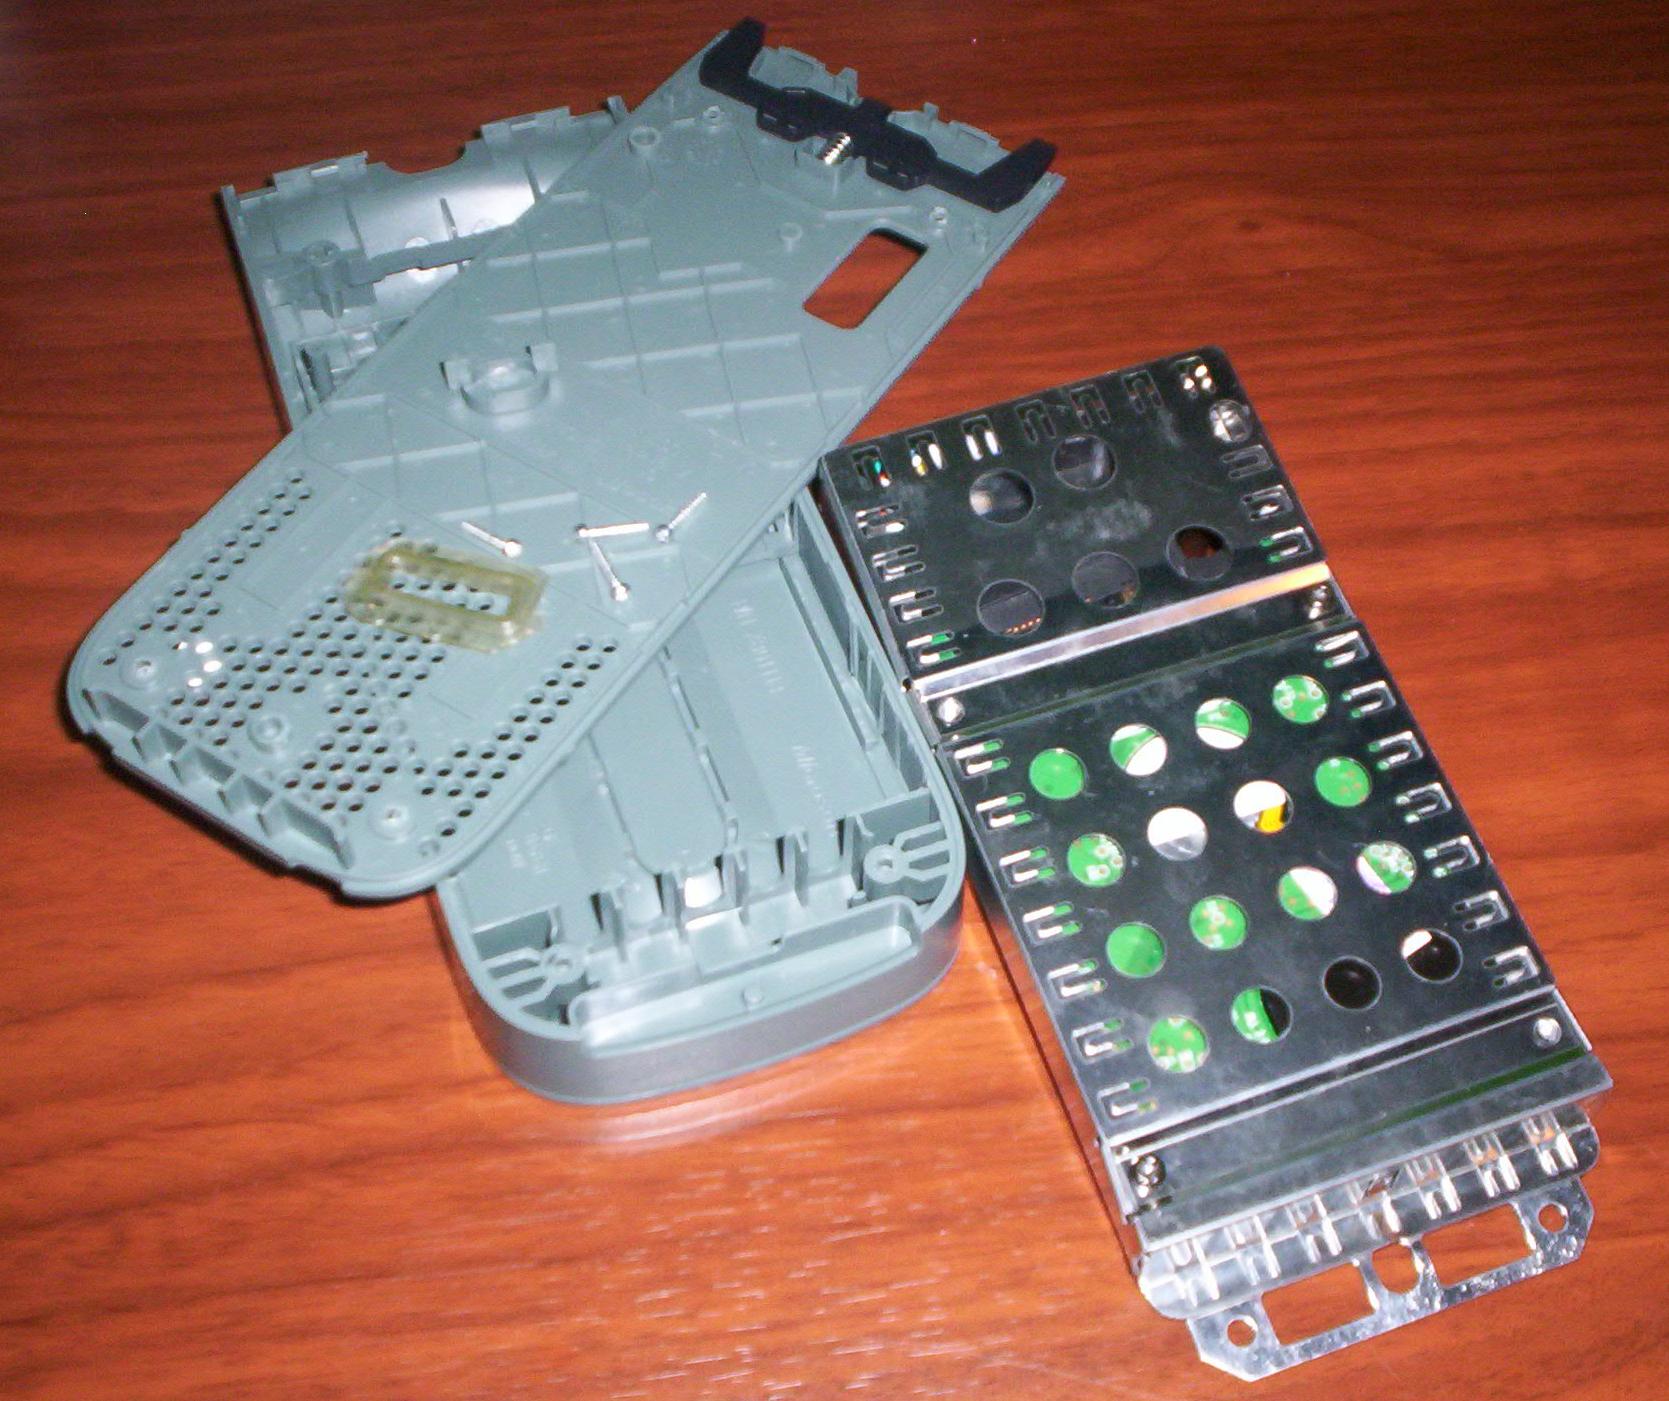
4) Now, remove the top cover by sliding it off. It should look similar to the picture below.

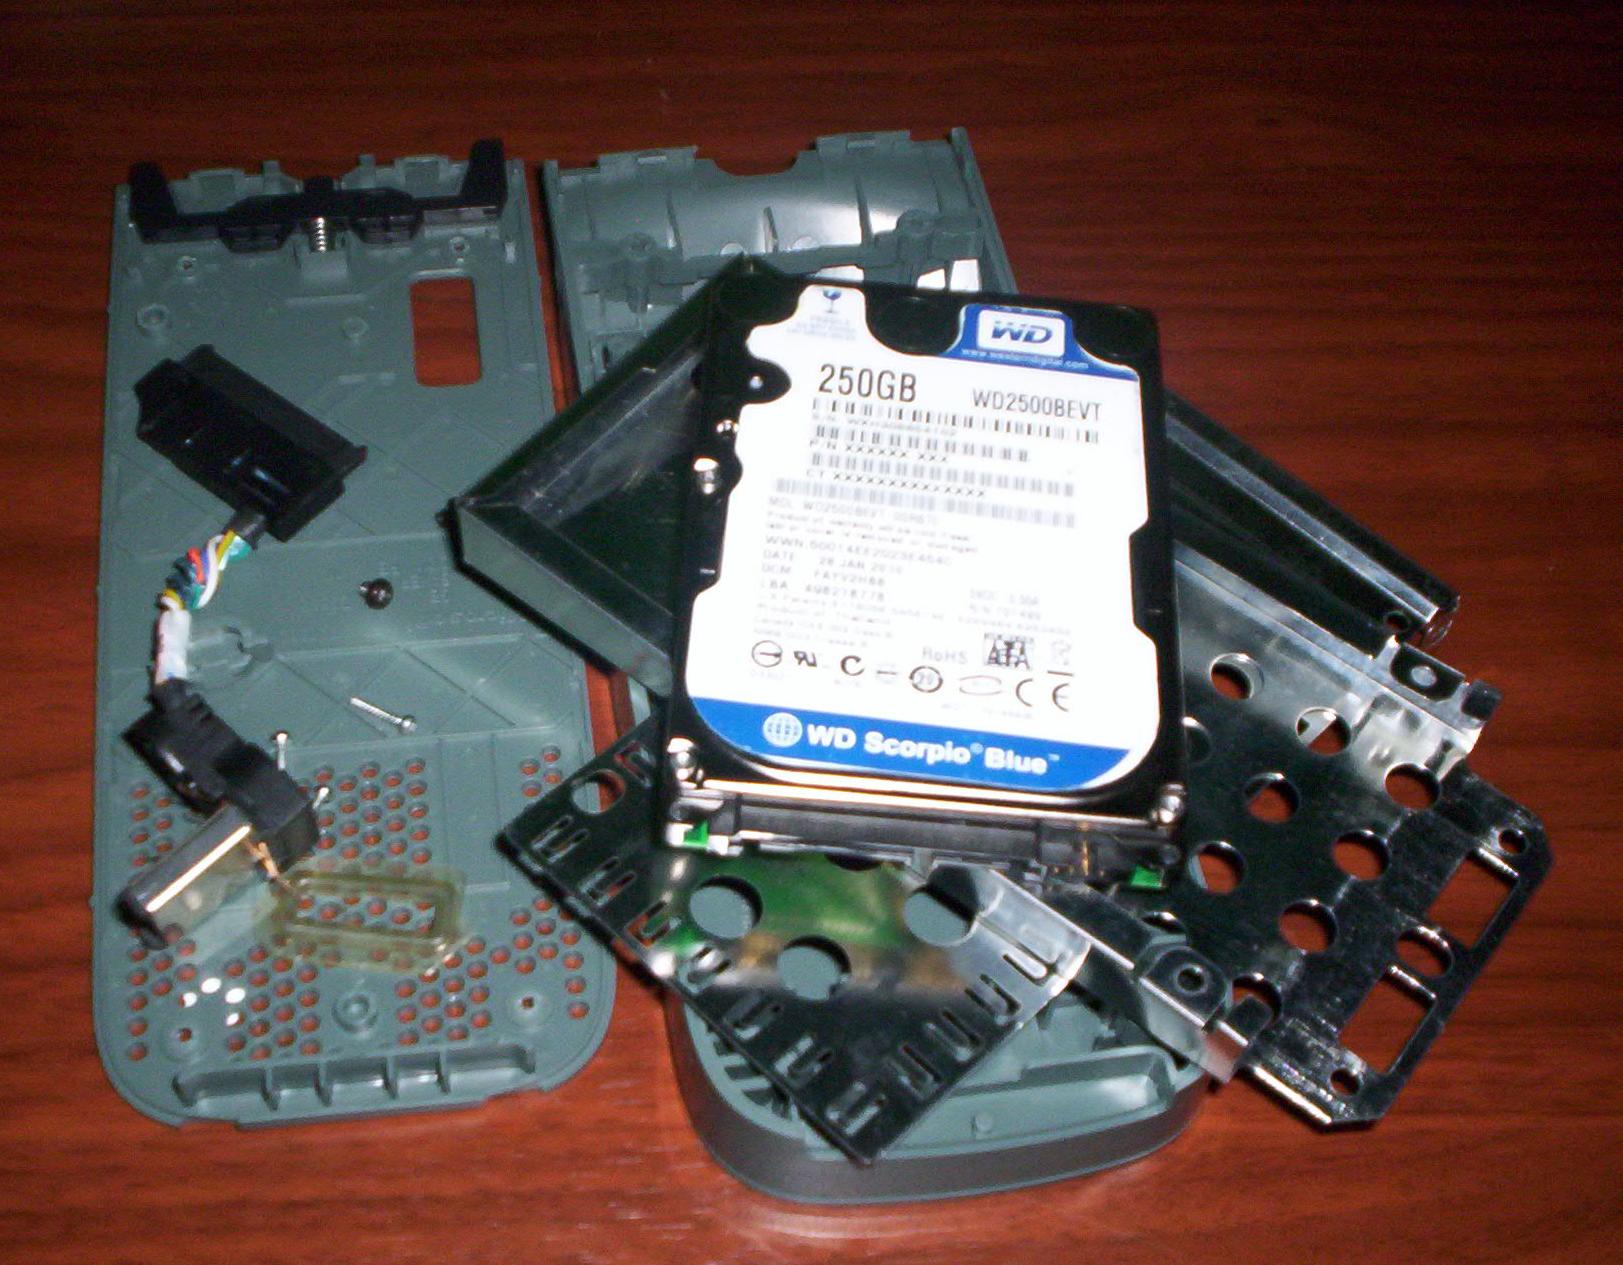
5) You may now unplug the cable conected to the HDD and slide out the Hard Disc Drive. You can now take out the cable from the case. It should look similar to the picture below once finished.
|
|